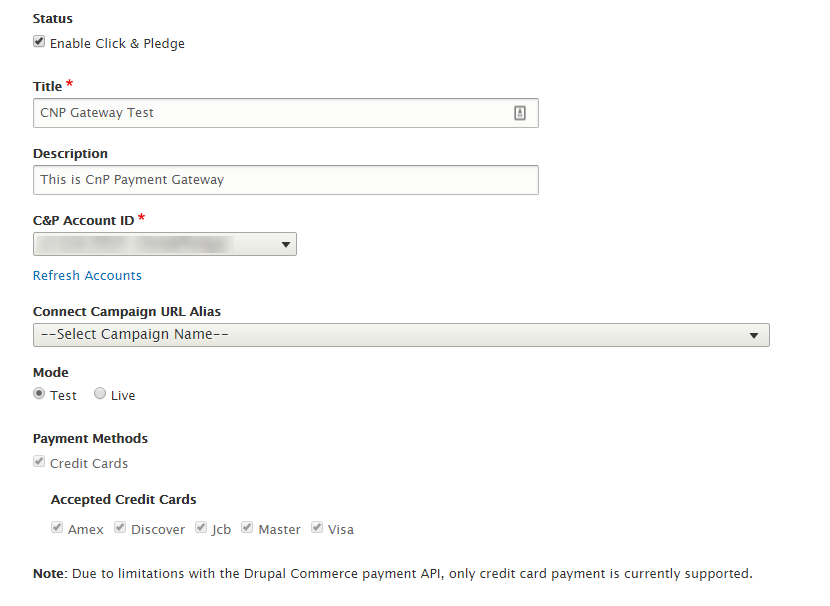
General Settings
Status: Enable the status to see the C&P payment gateway in the site.
Title & Description: Give the title for the Click & Pledge Payment Gateway and add needed description.
C&P Account ID: Based on the Account ID selected, the settings which are set in the CONNECT platform will be appear here.
CONNECT Campaign URL Alias: Transactions will post to this selected Campaign. It can be added to the form so that the transacted amount will be added to the selected campaign. By entering the CONNECT Campaign URL Alias in the Form, the receipt assigned to the CONNECT Campaign will replace the generic receipt. The receipt which is assigned to this campaign will be sent to the recipient. For additional information on Receipts, click this link.
To know the CONNECT Campaign URL Alias, login to CONNECT platform (https://login.connect.clickandpledge.com) > Launcher > Fundraising > Campaigns > Select the desired campaign > Campaign Details > Campaign Settings > Basic Information > Campaign Alias.
Mode: Mode may be set either to Test or Production. Test mode is used to test the transactions. No amount will be deducted from the payment. Production mode is nothing but live payment form wherein the given amount will be deducted from the selected payment type.
Payment Methods: The CONNECT Payment settings will be replicated here. Due to limitations with the Drupal Commerce payment API, only credit card payment is currently supported. To view the accepted credit cards, please login to CONNECT and click Launcher > Settings > Accepted Cards.
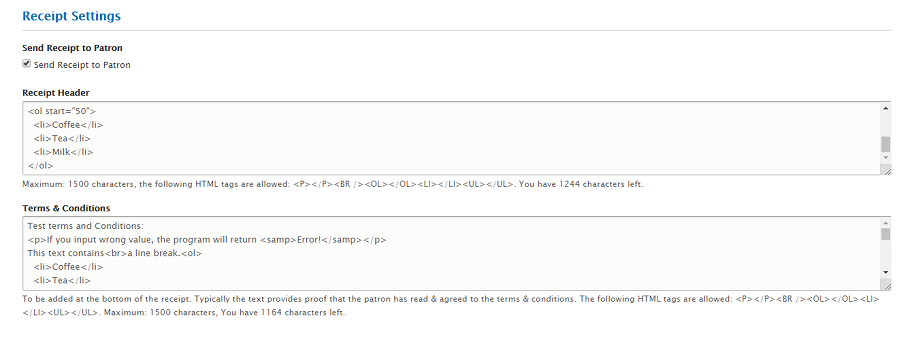
Receipt Settings
Enable Send Receipt to Patron to send the receipt to the patron. Receipt Header and Terms & Conditions can be edited upon need.
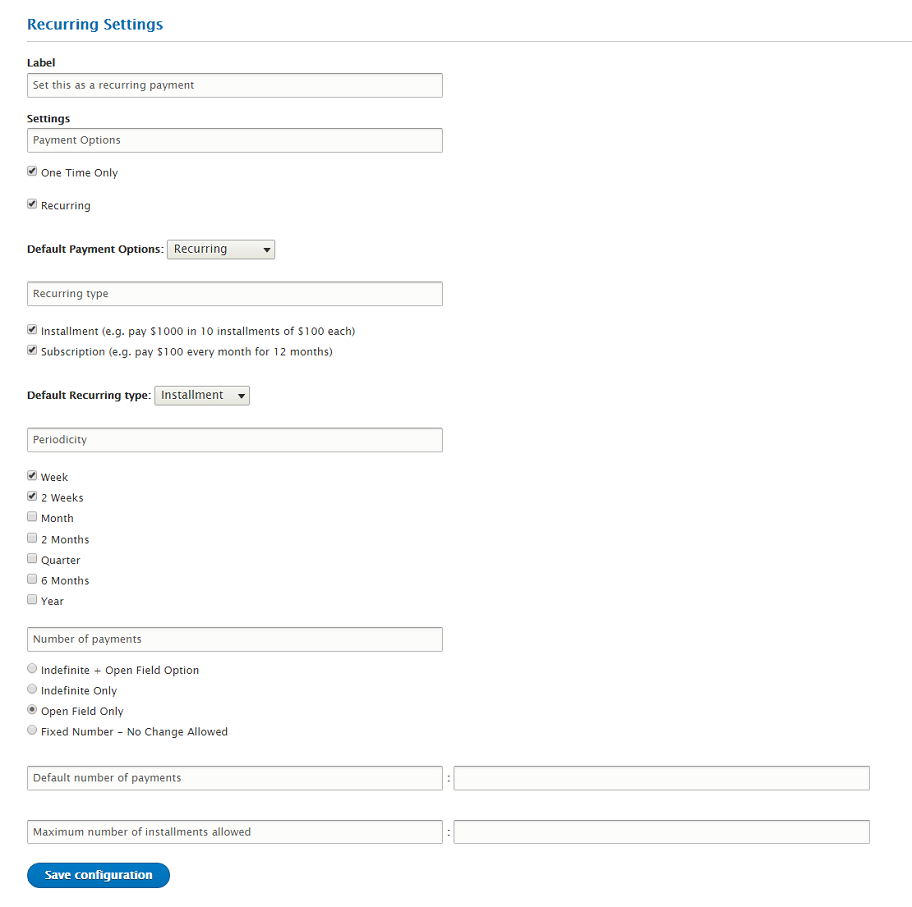
Recurring Settings
Recurring Label: Enter the name of the recurring settings which will appear in the external page.
Payment Options Label: The name entered here will be displayed in the external page. Enable or disable the one-time only & recurring options as per the need.
NOTE: Recurring options will be available only when the check-box for recurring is enabled.
Default Payment Option: If both one-time only & recurring options are active then this option will be available. Select one as the default payment options.
Recurring Type Label: The name entered here will be displayed in the external page. Enable the check-boxes for installments & subscription.
Default Recurring type: Select the default recurring type. This option will be available only when both installments and subscription is enabled.
Periodicity Label: The name entered here will be displayed in the external page. Select the desired periodicities so that they will appear in the external page.
Number of Payments Label: Enter the name of the field so that it will appear in the external page.
Indefinite only: If this option is selected then 998 times for installments and 999 times for subscription, the recurring option will be continued.
Open Field only: If this option is selected, “Default number of payments” and “Maximum number of installments” can be given. The entries given here can be changed in the external page.
Indefinite + Open Field Only: If this option is selected, the default value will be 999 which can be changed accordingly in the external page.
Fixed Number – No Change allowed: If this option is selected, the number entered in this field remains constant.
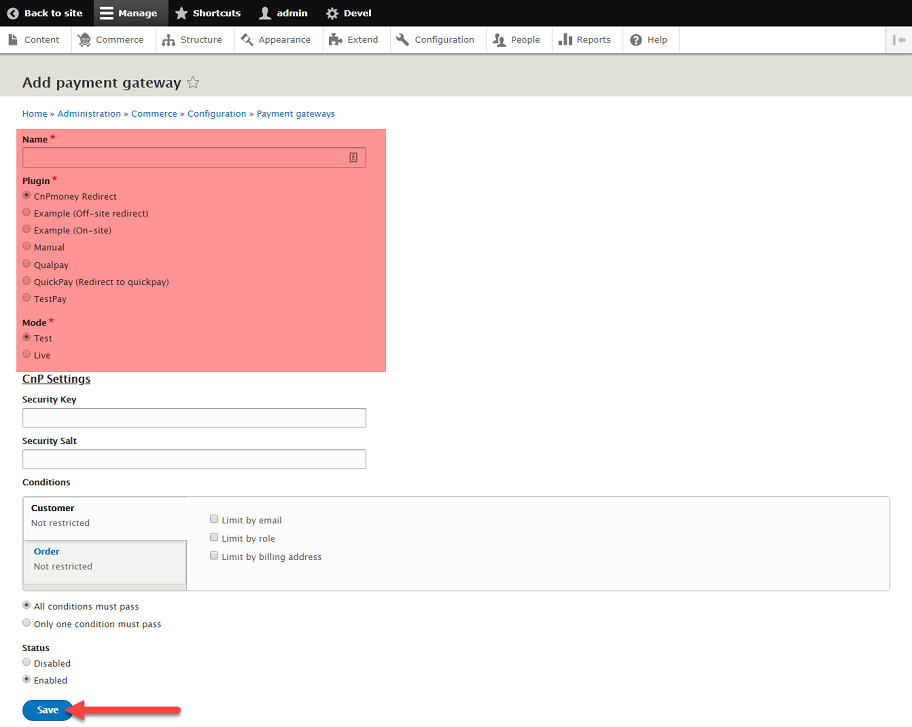
After making all the changes click on the “Save Configuration” button.
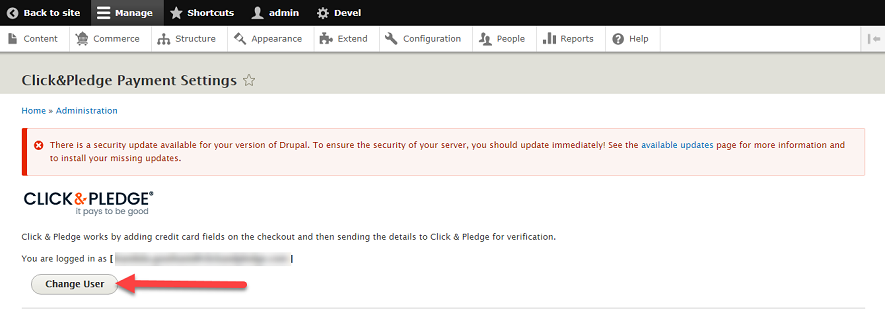
How to Change User
We can change the user with CONNECT platform through OAuth Connection. To do so, you need to have CONNECT Account. Click on ‘Change User’.
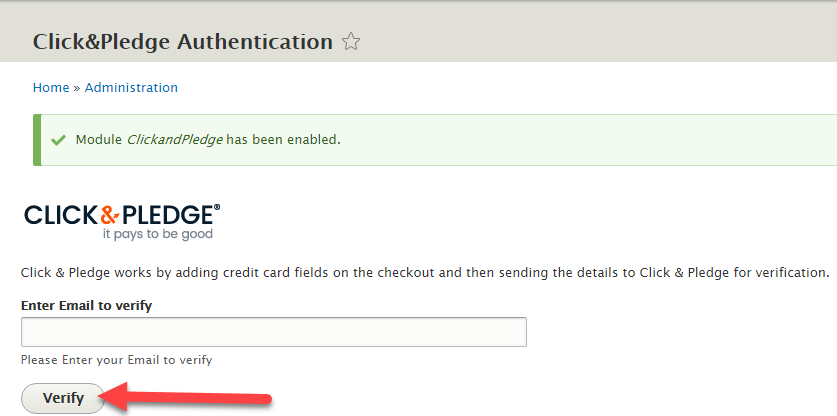
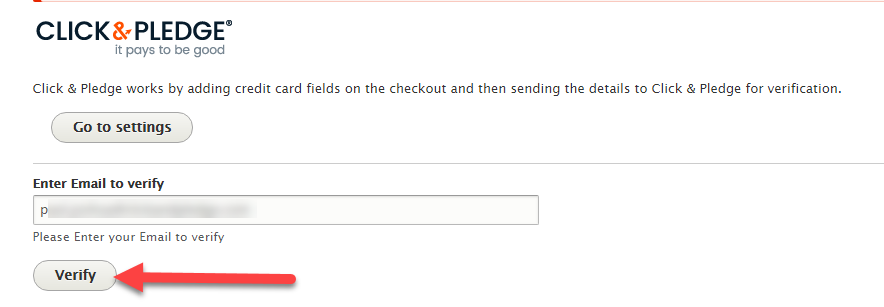
Enter the email address associated with your Click & Pledge account and click on Verify.
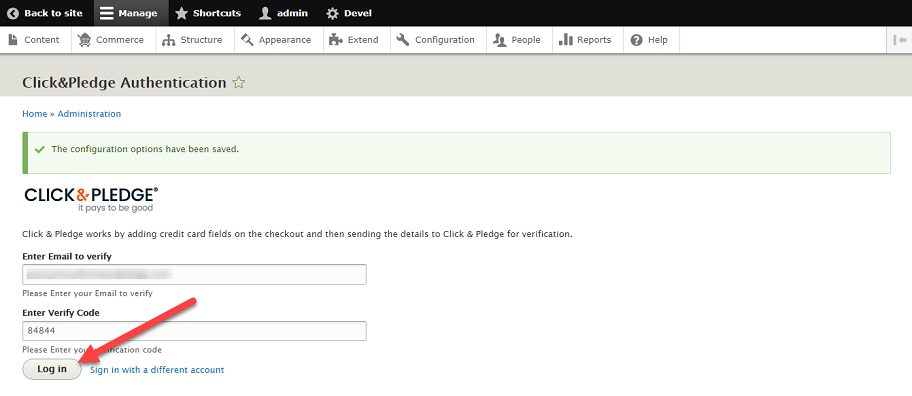
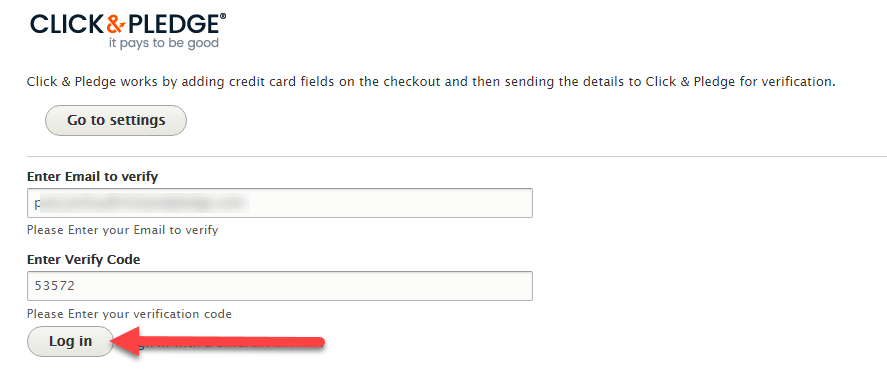
Please check your email inbox for the email. Copy and Paste the code and click Log in.
Pre-Authorization
By default, Drupal Commerce allows zero payments (free orders) without asking for credit card information. If total payment is $0 then it will just ask billing information and confirms the order.
If we want to allow credit card information along with billing information, then we need to do the following code level changes in Drupal commerce module.
We need to work with the following two files with minimal code changes
File 1: PaymentProcess.php
Location: project-root-folder\modules\commerce\modules\payment\src\Plugin\Commerce\CheckoutPane\PaymentProcess.php
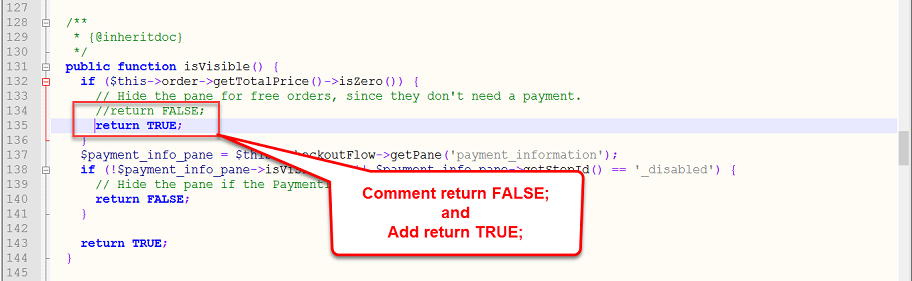
In this file, please find the function isVisible(). Replace isVisible() function with below modified function
File 2: PaymentInformation.php
Location: project-root-folder\modules\commerce\modules\payment\src\Plugin\Commerce\CheckoutPane\PaymentInformation.php
1. Please find the buildPaneForm() function. In this function, comment the below code shown:
/*if ($this->order->getTotalPrice()->isZero()) {
// Free orders don't need payment, collect just the billing information.
$pane_form['#title'] = $this->t('Billing information');
$pane_form = $this->buildBillingProfileForm($pane_form, $form_state);
return $pane_form;
}*/
2. Please find function validatePaneForm(). In this function, comment the below code shown:
/*if ($this->order->getTotalPrice()->isZero()) {
return;
}*/
3. Please find another function submitPaneForm(). In this function, comment the below code shown:
/*if ($this->order->getTotalPrice()->isZero()) {
$this->order->setBillingProfile($pane_form['billing_information']['#profile']);
return;
}*/
The above changes will allow you to accept $0 payments with credit card information also.
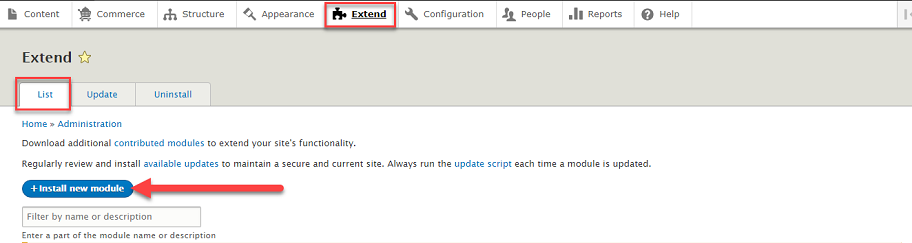
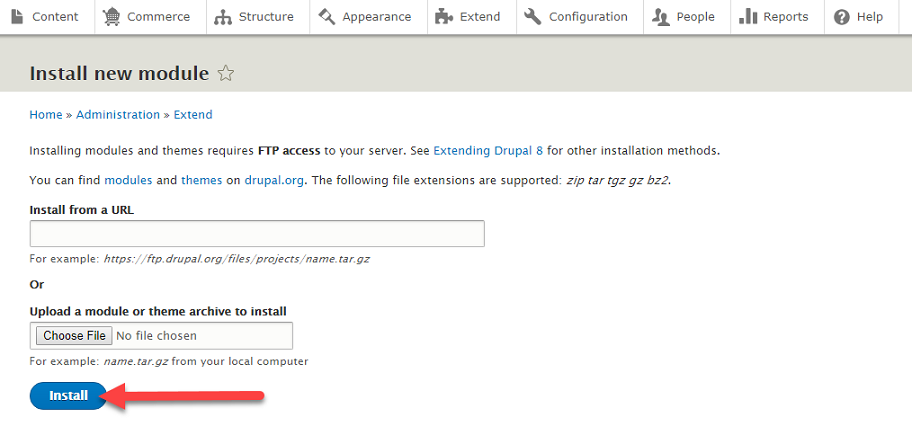
 Uploading ....