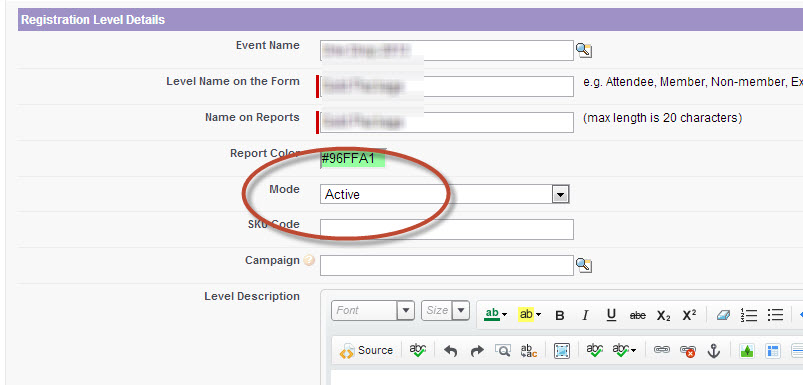
IMPORTANT CRITICAL STEP: MODE
In this release an additional option is available for testing each event and level. Step 3 is critical since Salesforce does not allow for default value of a pick-list to be defined during the installation. Once installed the MODE will be set to "None" and events with MODE=None will not be live. It is extremely critical to set this mode accordingly once the upgrade is complete.
The following steps are required for upgrading from version 1.99 to 1.1000.
Blog post:
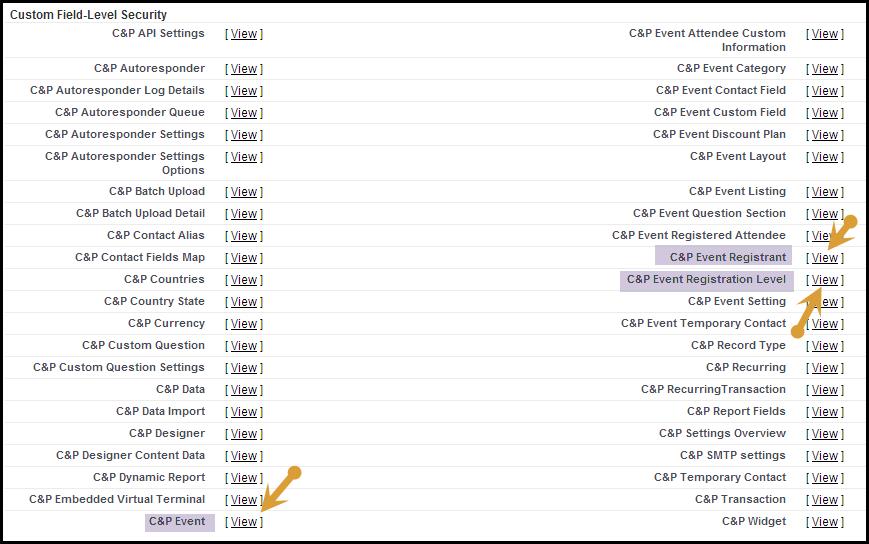
https://forums.clickandpledge.com/entry.php?b=34Step 1: "Custom-Field-Level Security"
Setup > App Setup > Develop > Sites > Click on Site Label > Public Access Settings > Field-Level Security [Custom Field-Level Security]
Event Post Installation - Upgrade Instructions
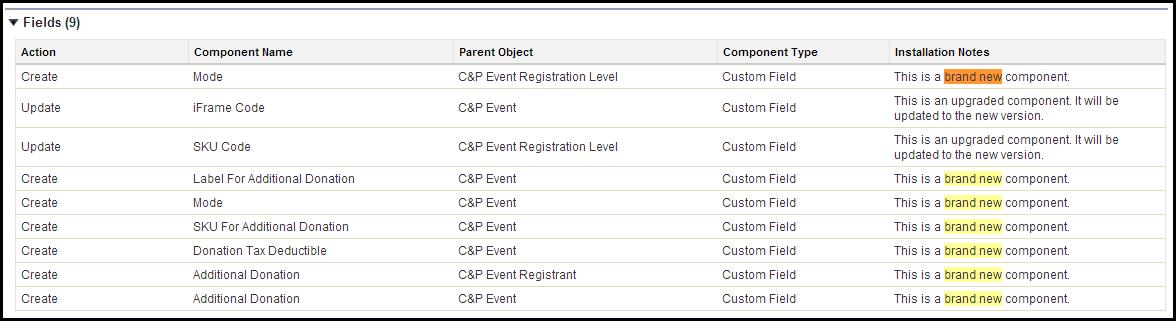
Make visible for the following fields at respective Objects:
• ‘Mode’ at ‘ C&P Event Registration Level’ Object
• Additional Donation, Label For Additional Donation, SKU For Additional Donation, Donation Tax Deductible & Mode at ‘C&P Event’ Object
• ‘Additional Donation’ at ‘C&P Event Registrant’
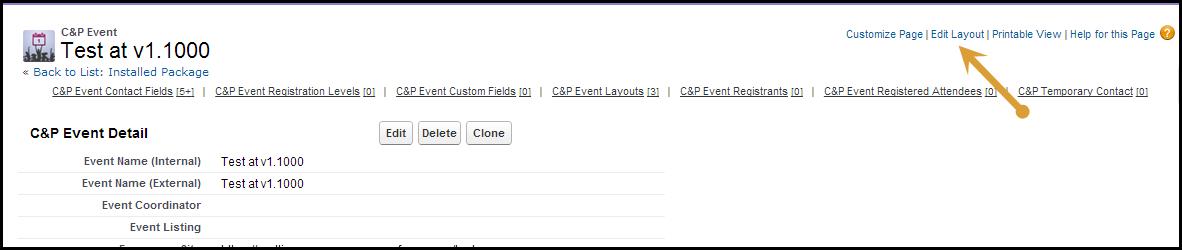
Step 2: Add the new fields to Event Detail Page
Go to any Event page, click at Edit Layout
Drag the following fields to the Event Detail Page, and place in the layout:
- Additional Donation
- Label For Additional Donation
- SKU For Additional Donation
- Donation Tax Deductible
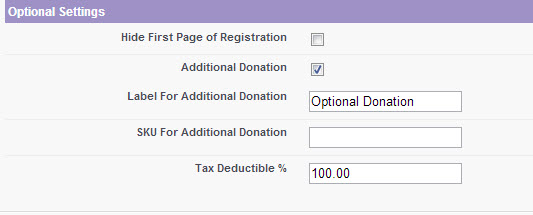
- Mode
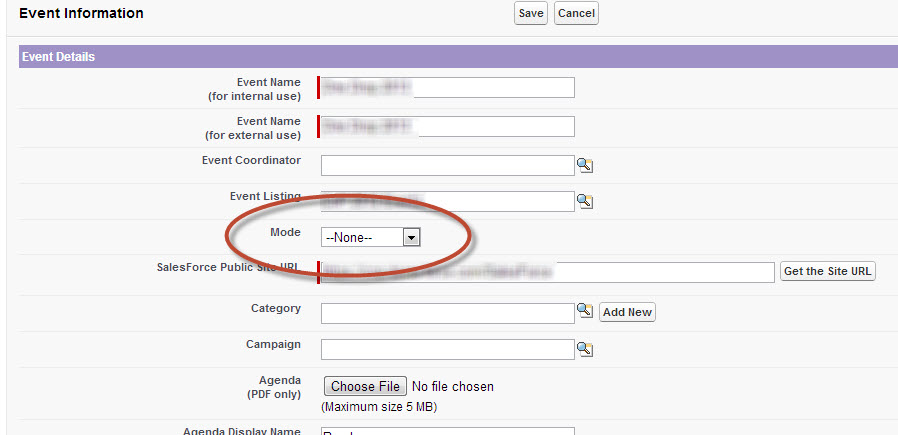
IMPORTANT STEP: Make sure to keep Event Mode as Active. This is a new feature and if not set to ACTIVE all events will become inactive.
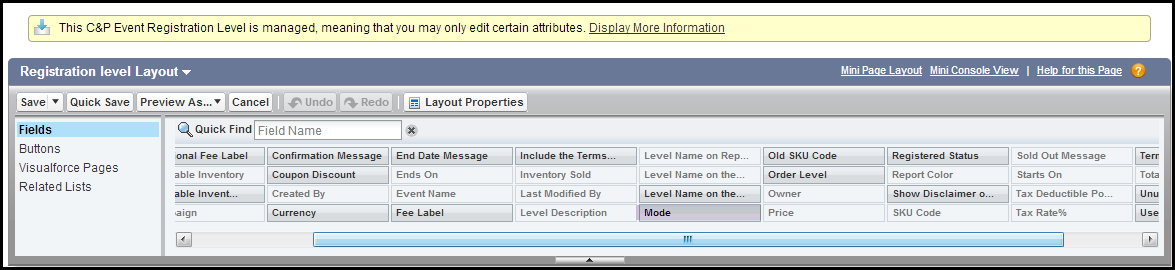
Step 3: Add the new MODE field to Level Detail Page
Go to any Level page, click at Edit Layout
Drag the following fields to the Event Detail Page, and place in the layout:
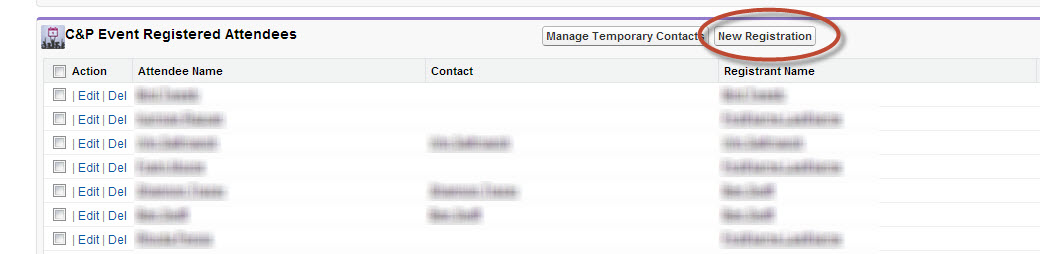
Step 4: Adding ‘New Registration Button’ to the Registered Attendees Related List
- Go to Event detail page and click on "Edit Layout" button at the top of the page
- Go to "C&P Event Registered Attendees" related list and click on the "Related List Properties" Option.
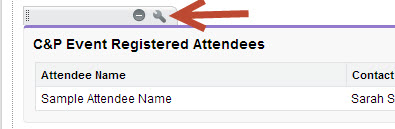
- You will see "Buttons" block just below the "Columns" block. click on the + to expand the buttons section.

- From “Available Buttons" select the "New Registration" button and add it to the "Selected Buttons Area."
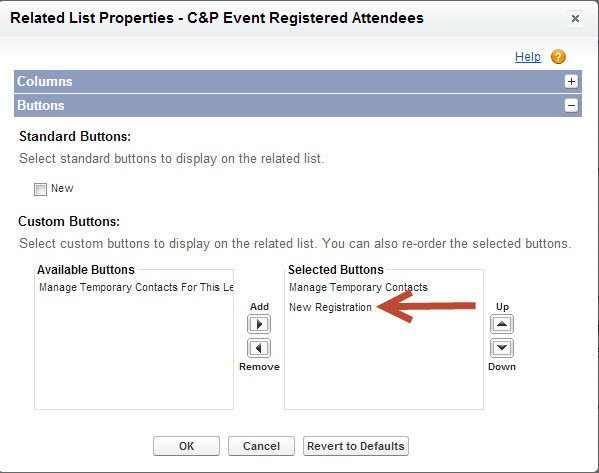
- Click the OK button and save the changes.
With this option, you can register the attendees using the new Manual Registration terminal (Box Office).
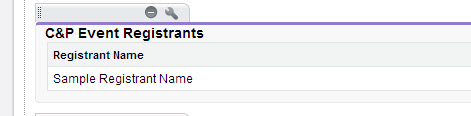
Step 5: Adding ‘New Registration Button’ to the Event Registrant related list
Follow the same steps outlined in Step 4 to add the New Registration button to the Event Registrant section. While not mandatory, adding the button will help with registering attendees from both lists.
 Uploading ....