References:
Support:
Requirements:
Paid Memberships Pro requires a minimum of WordPress version 3.0+
Integration of Click & Pledge:
It is recommended that all replaced files are backed up for reference.
Set Up:1
- Login to WordPress: http://<your_wordpress_home>/wp-login.php
- Click on ‘plugins->Installed Plugins’ & enable the ‘Paid Memberships Pro’
Payment setting is the place where the Payment Gateway, Click & Pledge Settings, Currency and Tax Settings and SSL Settings were defined.
Payment Gateway:
- Select ‘Click & Pledge’ from the dropdown menu as the Payment Gateway
- Select the Gateway Environment. Sandbox is for Testing and Production is for Live.
- Click on ‘Save All Settings’.
- Click on Edit Settings for Click & Pledge under Payment Gateway Settings.
Click & Pledge Payments Settings:

- Login to PaidMembershipPro account and click on ‘Memberships’.
- Select ‘Settings’.
- Click ‘Payments’.
- Click ‘Change User’ Follow the steps below.
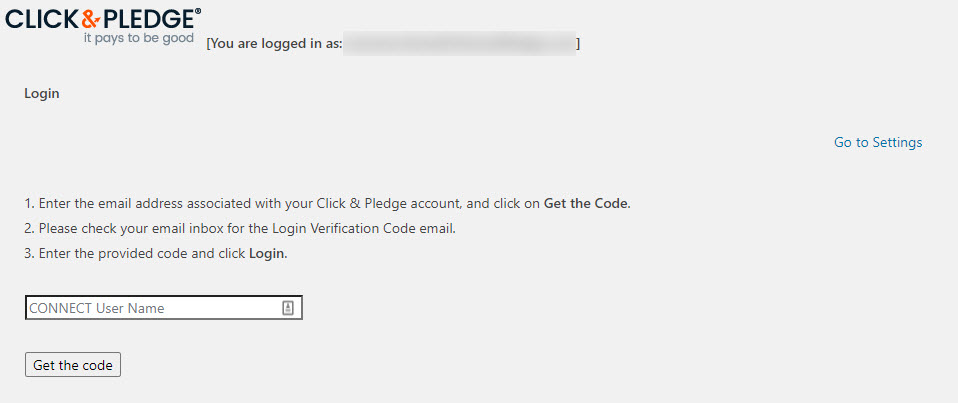
Change User settings- To change the Account, click Change Account to enter the login credentials. We can login to new user directly with CONNECT platform through OAuth Connection. To do so, simply login with the desired CONNECT User Name.
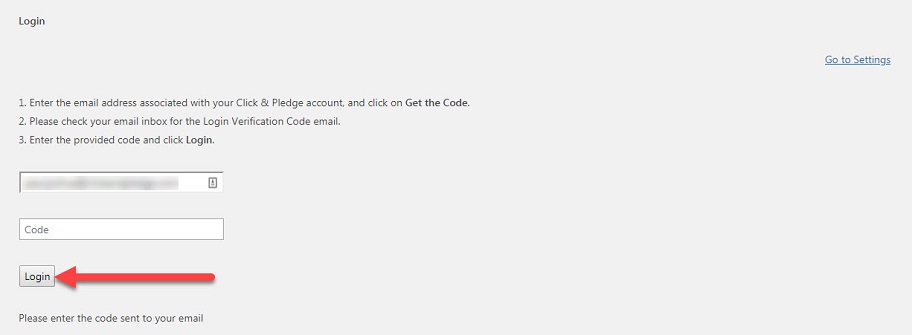
- Please enter the code sent to your email and click Login.
5. Click Refresh Accounts so that if any changes made in the CONNECT, they will reflect here.
6. The CONNECT Payment settings will be replicated here. As of now, we are supporting only Credit cards and restricting eCheck and Custom Payment. Please login to CONNECT and go to Account Info > Accepted Cards to enable the payment type settings. 7. If Send Receipt to Patron (Initial Payment) is enabled, then the initial payment given in the Membership Level will be deducted as the first payment. Select the CONNECT Campaign URL Alias of a campaign so that the receipt which is assigned to that campaign will replace the generic receipt. Enter the Receipt Header and Terms & Conditions which should not exceed 1500 characters each.
8. If Send Receipt to Patron (Custom Trail) is enabled, then the Trail Billing Amount given in the Membership Level will be deducted based on the settings given. Select the CONNECT Campaign URL Alias of a campaign so that the receipt which is assigned to that campaign will replace the generic receipt. Enter the Receipt Header and Terms & Conditions which should not exceed 1500 characters each.
9. If Send Receipt to Patron (Recurring Subscription) is enabled, then the Billing amount and the Billing cycle limit given in the Membership Level will be deducted after the initial and custom trail payments. Select the CONNECT Campaign URL Alias of a campaign so that the receipt which is assigned to that campaign will replace the generic receipt. Enter the Receipt Header and Terms & Conditions which should not exceed 1500 characters each.
Sales Tax: It’s an optional field where the state abbreviation and the tax rate may be given. This field is only for US. If the values are given, tax will be applied for any members ordering from the selected state.

After making all the necessary changes, click Save Changes.
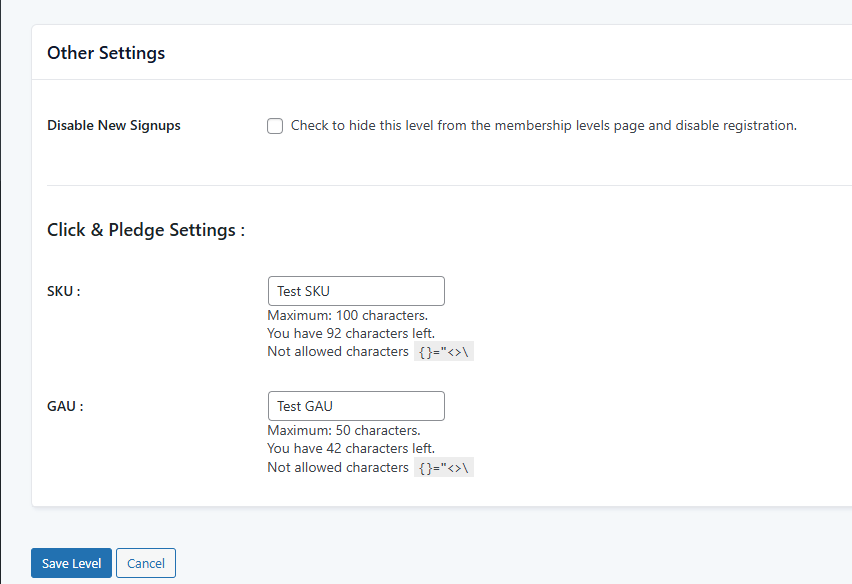
To add SKU and GAU to an item, go to Settings > Levels > Edit Level > Other Settings > Click & Pledge Settings > SKU - Add the SKU and Add GAU > Save Level (Click it).
 Uploading ....
