Prerequisites
- WordPress 5.0 (it will work with WordPress 3.0 but 5.0 version is recommended)PHP 5.2.4 or greater
- PHP 5.2.0
- MySQL 5.0+
How to install WPJobBoard:
How to install Click & Pledge Gateway:
- Download the plugin from WordPress: https://wordpress.org/plugins/click-pledge-wpjobboard/
- Extract the plugin
- Upload the Plugin folder to the wp-content/plugins folder in the WordPress directory online, using an FTP program.
- Go to the Plugins screen in the admin area and find the newly uploaded Plugin in the list.

- Click on the Activate link to activate the plugin.
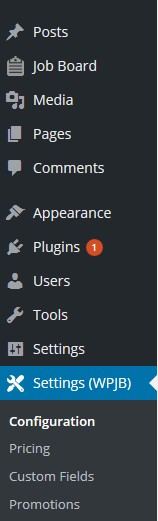
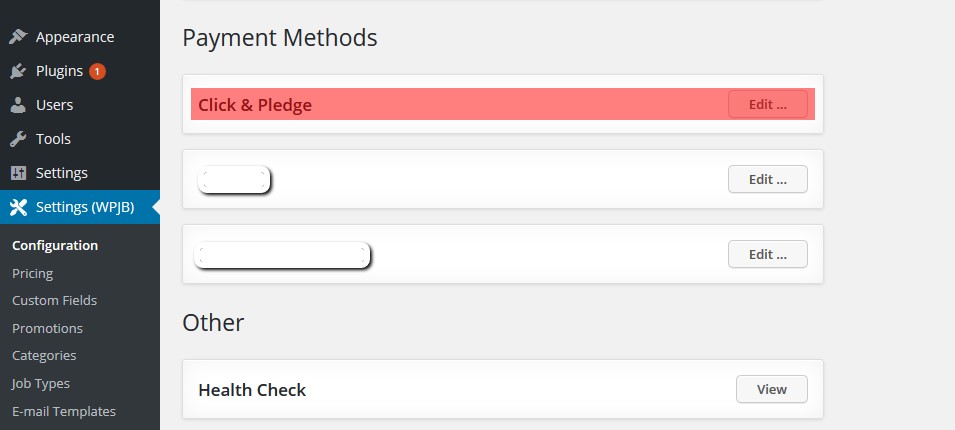
- Once activated, the plugin may be reviewed at: Settings(WPJB)->Configuration (Payment Methods Section)
- Click on ‘Edit’ and enter the Click & Pledge Account Information
Admin login:
http://<your_wordpress_home>/wp-admin.php
to log into WordPress admin area.
After login into the admin area select Settings (WPJB)->Configuration to launch WPJobBoard Configuration Page
How to add Payment Processor?
Go to Settings(WPJB)-> Configuration (Payment Methods)
Click on Edit & review the following screen:
Configuration Settings:
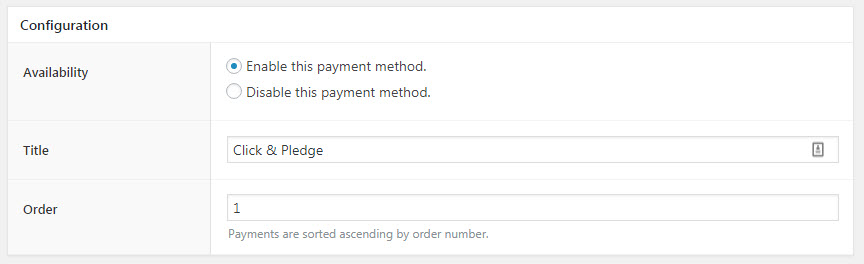
These are the settings which effects the payment section in the External page.
Availability: Select ‘Enable this payment method’ so that Click & Pledge Payment Gateway will be available for payments in the External page.
Title: Name the title of the Payment Gateway so that it will appear in the External page.
Order: Give the order number like 1,2,3…. So that the payments are sorted in the ascending order.
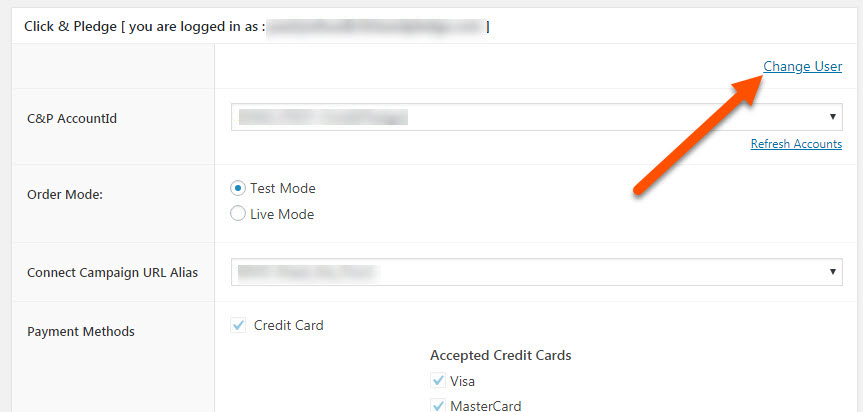
How to Change User?
We can change the user with Connect platform through OAuth Connection. After successful OAuth connection, all the Connect campaigns of that C&P Account will appear as a pull-down menu in each form. The payment methods are also brought into WPJobBoard automatically. To do so, you need to have Connect Account.
Enter the Connect User Name associated with your Click & Pledge account and click on Get the Code.
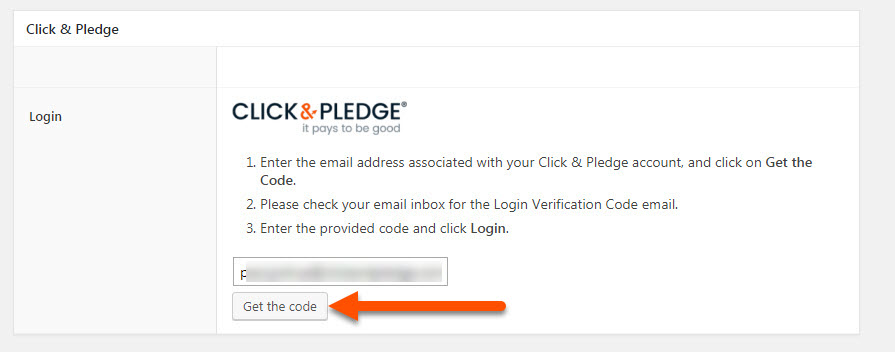
Please check your email inbox for the email. Copy and Paste the code and click Login.
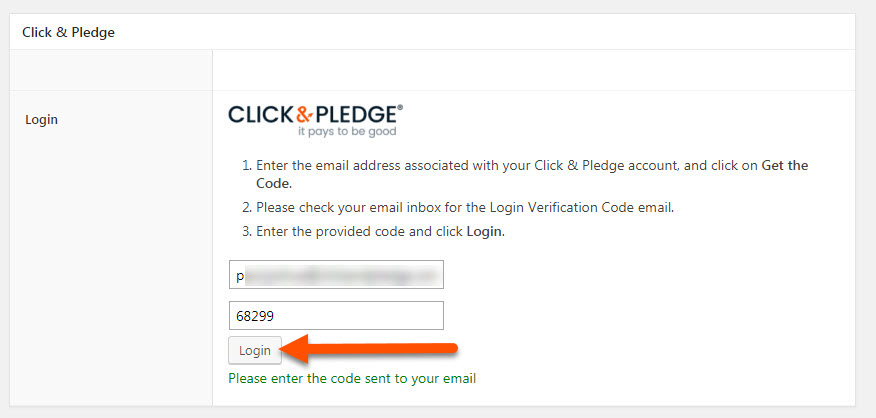
After successful login, you will see the Click & Pledge accounts listed in the C&P AccountId.
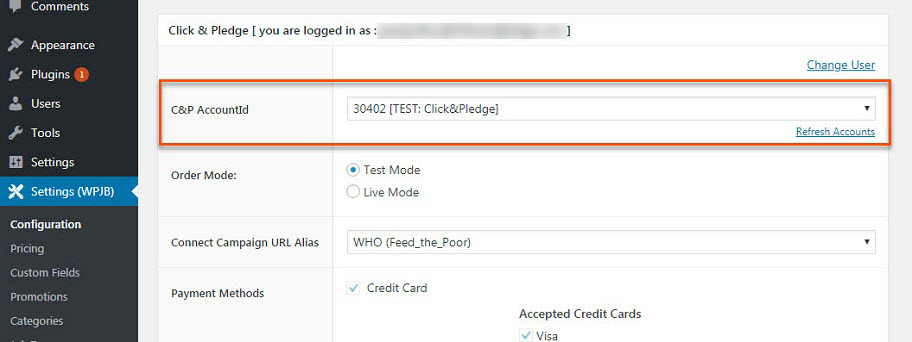
Click Refresh Accounts so that if any changes made in the Connect, they will reflect here.
General Settings:
Based on the Account ID selected, the settings which are set in the Connect platform will be appear here.
Order Mode: Order Mode may be set either to Test or Production. Test mode is used to test the transactions. No amount will be deducted from the payment. Production mode is nothing but live payment form wherein the given amount will be deducted from the selected payment type.
Connect Campaign URL Alias: Transactions will post to this selected Campaign. It can be added to the form so that the transacted amount will be added to the selected campaign. By entering the Connect Campaign URL Alias in the Form, the receipt assigned to the Connect Campaign will replace the generic receipt. The receipt which is assigned to this campaign will be sent to the recipient. For additional information on Receipts, click this link.
To know the Connect Campaign URL Alias, login to Connect platform (https://login.connect.clickandpledge.com) > Launcher > Fundraising > Campaigns > Select the desired campaign > Campaign Details > Campaign Settings > Basic Information > Campaign Alias.
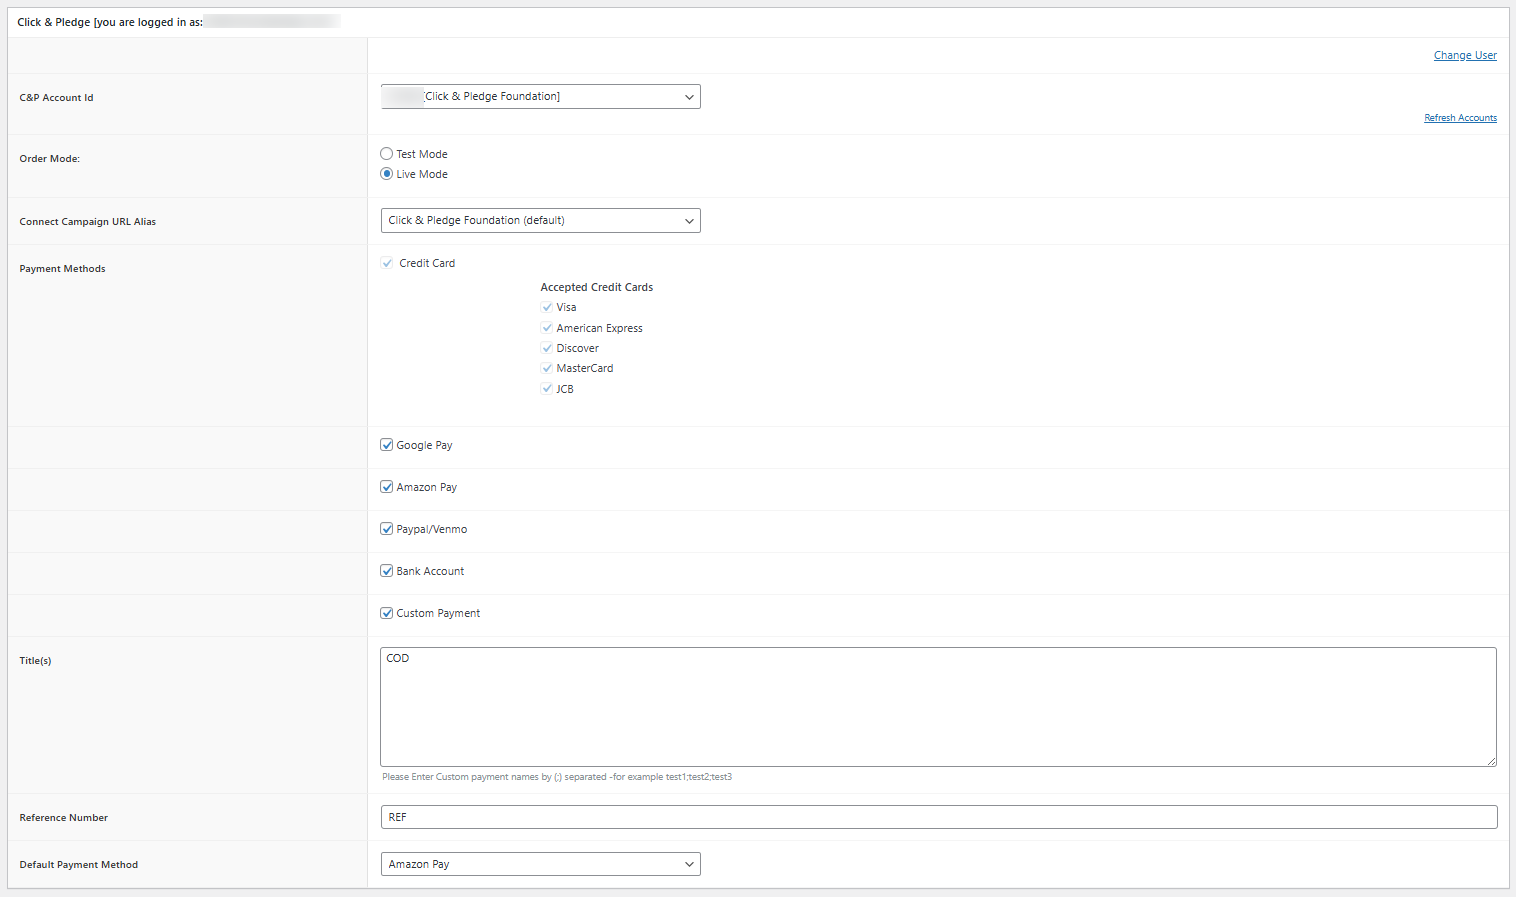
Payment Methods: The Connect Payment settings will be replicated here. To add other payment types, login to Portal and go to Account Info > Accepted Cards to enable the payment type settings. Only Custom Payment can be edited here. Default Payment Method can be set.

Receipt Settings:
Enable Send Receipt to Patron to send the receipt to the patron. The information which is in the Receipt Settings of Connect will be displayed as it is in the Receipt Header and Terms & Conditions. It can be edited based upon the need.

Recurring Settings:
Recurring settings can be edited here:
Payment Options: Enable or disable the one-time only & recurring options as per the need.
NOTE: Recurring options will be available only when the check-box for recurring is enabled.
Default Payment Options: If both one-time only & recurring options are active then this option will be available. Select one as the default payment options.
Recurring Types: Enable the check-boxes for installments & subscription.
Installment: This will allow a patron to break a payment into smaller installments.
Subscription: This allows a patron to opt into making a repeat payment at the time interval they choose.
Default Recurring Type: This option will be available only when both installments and subscription is enabled. Select the default recurring type.
Periodicity: Select the desired periodicities so that they will appear in the external page.
Number of Payments: There are four types in which we can do the payment. They are:
Indefinite only: If this option is selected then 998 times for installments and 999 times for subscription, the recurring option will be continued.
Open Field only: If this option is selected, “Default number of payments” and “Maximum number of installments” can be given. The entries given here can be changed in the external page.
Indefinite + Open Field Only: If this option is selected, the default value will be 999 which can be changed accordingly in the external page.
Fixed Number – No Change allowed: If this option is selected, the number entered in this field remains constant.
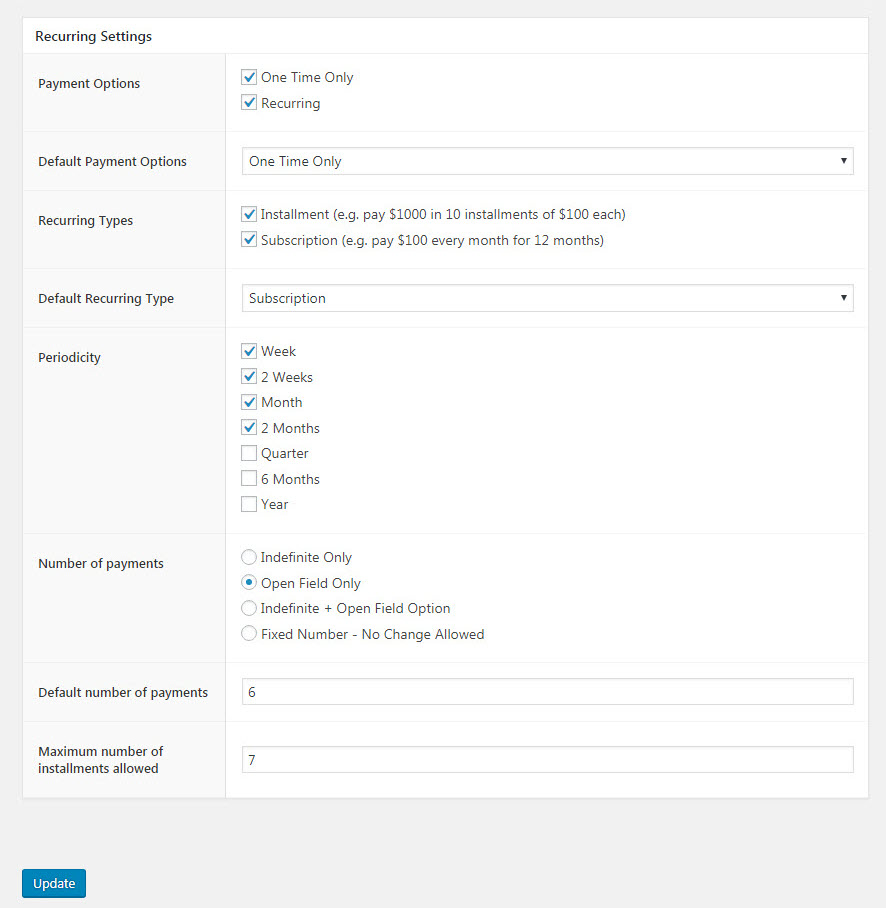
After making all the changes click on “Update” button.
APM (Alternate Payment Methods)
Please note that to work the APM (Alternate Payment Methods) you need to follow this step again (Required): General_Settings: OAuth Connection
To add APM (Alternate Payment Methods) navigate to Payment Methods and drag into the form.
Google Pay
Why doesn’t Google Pay show as a payment option?
- There are multiple conditions that must be satisfied to display Google Pay as a payment method.
- A patron needs to have a valid credit card saved to Google Pay.
- Google Pay only shows on Chrome, a web browser developed by Google. The Chrome browser needs to be an updated version.
- When using Chrome Google Pay needs to be connected.
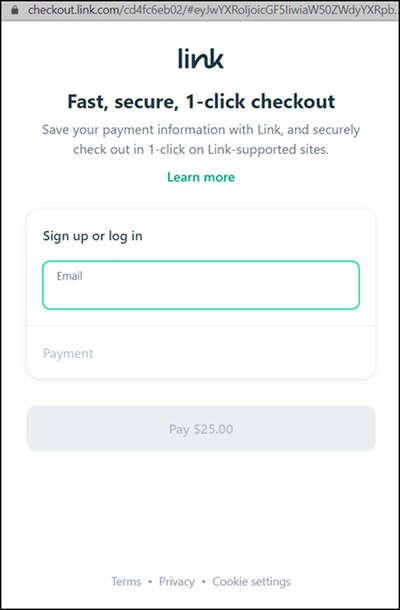
Link
If Google Pay is not available, there is an option on the page to use LINK, a credit card payment from Stripe that works like a wallet.
APM Options.
When "Pay with Link" is clicked, patrons will be able to Sign up or log in to Link to process the payment.
LINK.
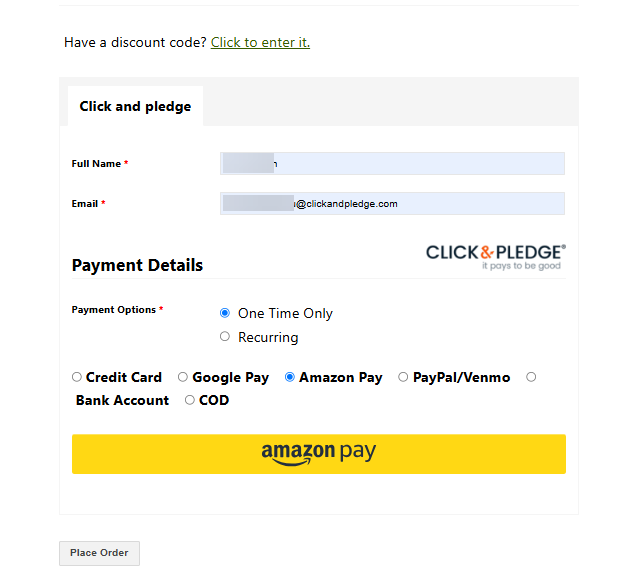
Amazon Pay
Amazon Pay® is now available! This addition offers donors a familiar, trusted, and secure payment option that can boost contributions and conversions. Amazon Pay® is already activated in your account if your organization is on Stripe.
PayPal and Venmo
PayPal & Venmo – Payout Process
Click & Pledge deposits your funds, minus our fees, to your respective PayPal/Venmo account. To transfer funds from your PayPal/Venmo account to your bank account consult PayPal/Venmo.
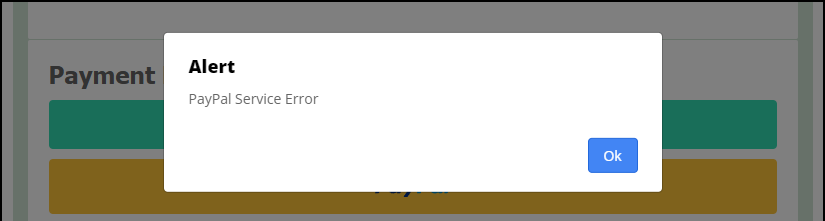
PayPal Service Error
If you see the error message "PayPal Service Error" when either the PayPal or Venmo button is selected on your donation form, you will need to contact PayPal to resolve the issue. PayPal may freeze your account if they need additional information concerning your transactions or account. PayPal does not alert Click & Pledge if there is an issue.
One common issue for the error is that the email address for the PayPal primary contact was not confirmed. When your account with PayPal is set up, for verification an email is sent to you. If the email PayPal sends is not confirmed, then PayPal will freeze your account. You will need to contact PayPal to resolve.
https://www.paypal.com/us/smarthelp/contact-us
Below is an image of the error.
We recommend you monitor your donation forms with PayPal frequently by selecting the PayPal and Venmo buttons on your donation form to ensure they are working as expected.
Since this is an issue with PayPal, you will need to work with them to resolve it.
Here are PayPal's Customer Support options: https://www.paypal.com/us/smarthelp/contact-us
You may also find the issue within your PayPal customer portal. Login to your PayPal account. Scroll down to Notifications and find the messages that have Red Flags. The Red Flag messages should detail your issue and help you resolve the problem. If not, reach out to PayPal for assistance.
https://www.paypal.com/us/smarthelp/contact-us
On the PayPal Dashboard find the Notifications with Red Flags
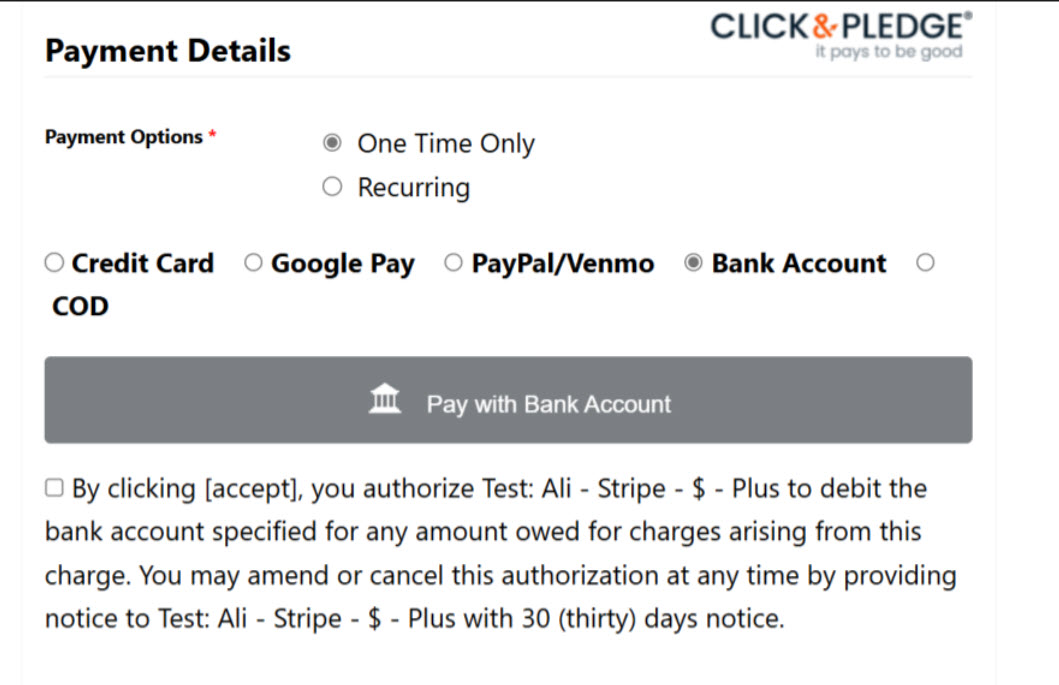
Bank Transfer
In addition to Credit Card payments, your Patrons have the option to donate to you from their bank account.
NACHA (National Automated Clearing House Association) implemented the Web Debit Account Validation Rule which requires Account Validation for online transactions being processed from a bank account. Using an OAuth connection, Bank Transfer will have the donor select their bank from a list and login to their bank account to complete the transaction. This process reduces fraud risk to zero.
Following is the flow your Patrons will see for Bank Transfer.
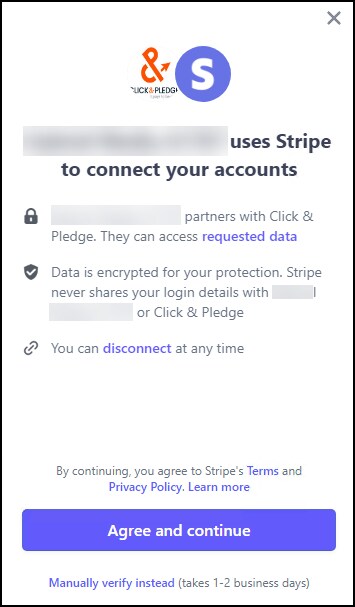
Check the box to accept Terms & Conditions. Click "Pay with Bank Account".
Patron will select their Bank from the list provided or may use the Search filed to find their bank. When they Select their bank the will see the following screen.
Accept Bank Terms.
Once "Agree and continue" is clicked, the Patron will be taken to the login screen for their bank account to complete the transaction.
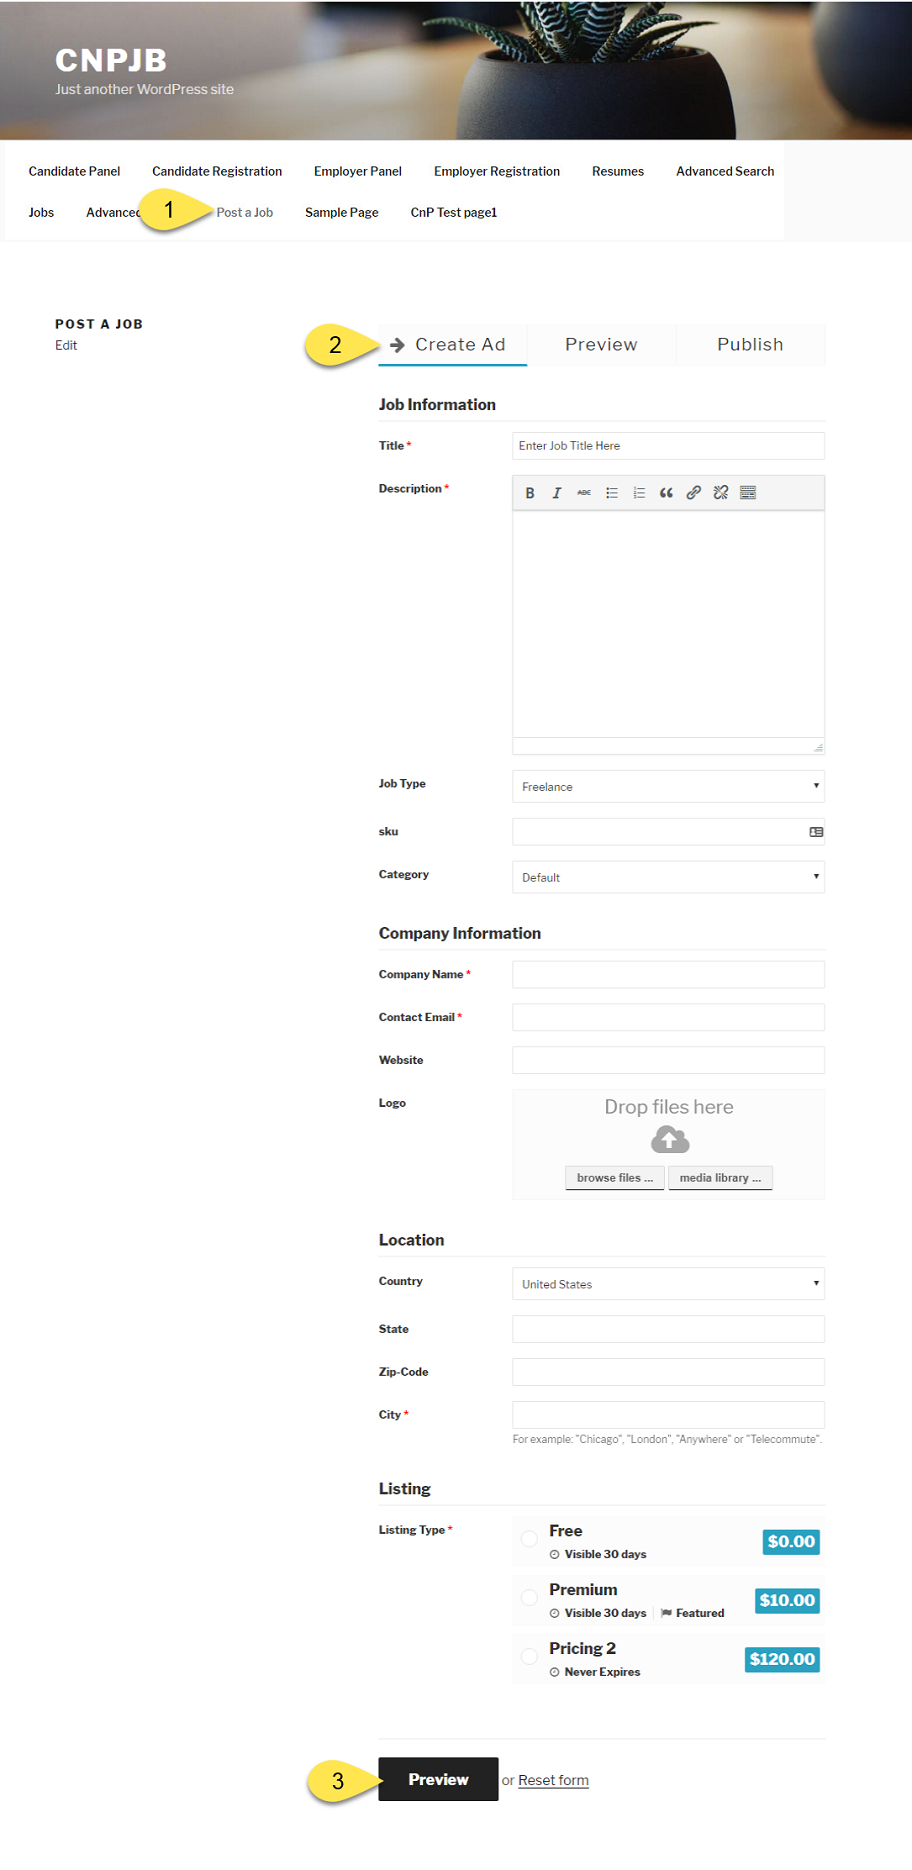
External Page
After making all the necessary changes in the Settings page, let’s see how to post a job with Click & Pledge payment gateway.
Step 1: Click ‘Post a Job’.
Step 2: Select ‘Create Ad’ and fill all the necessary fields.
Step 3: click ‘Preview’.
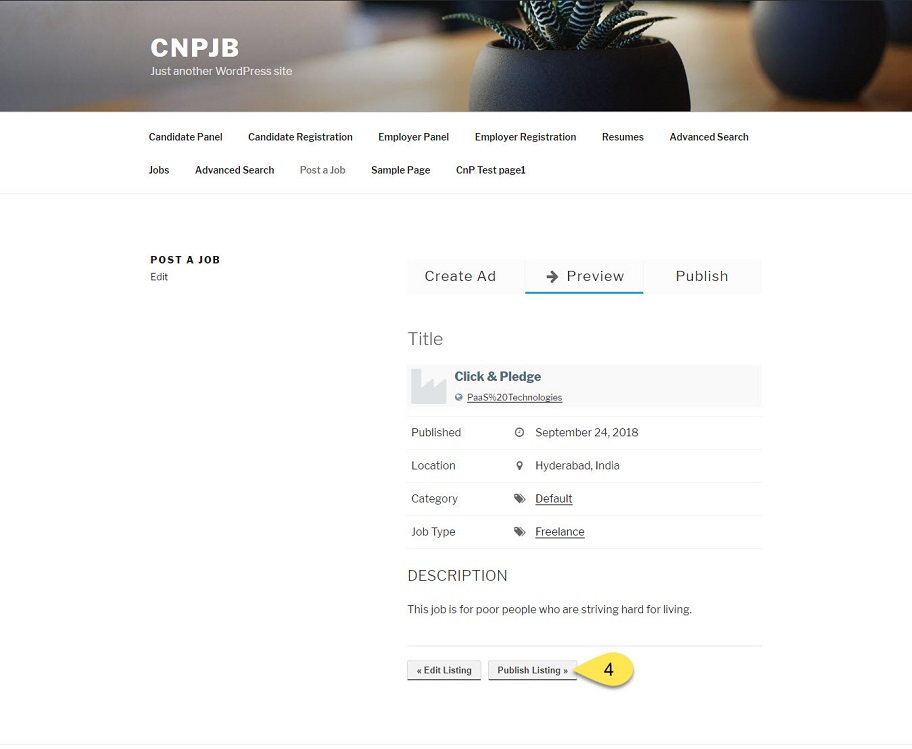
Step 4: Preview will be shown before advancing to the Payment page. To edit the Ad, click ‘Edit Listing’ or if everything is fine, click ‘Publish Listing’.
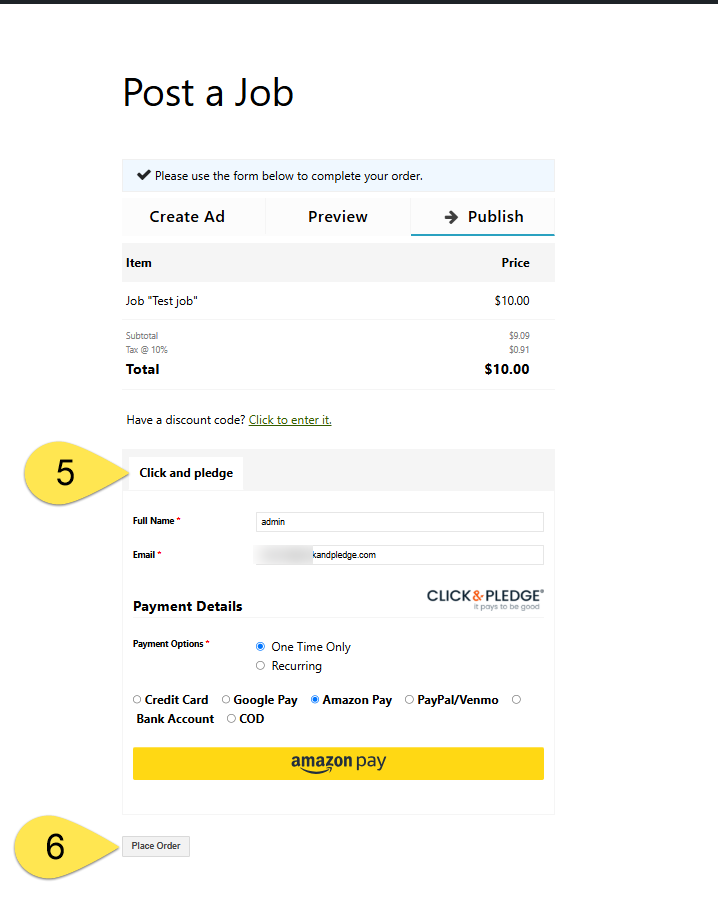
Step 5: In the payment page, select ‘Click & Pledge’ as the payment gateway and fill all the necessary fields.
Step 6: Click ‘Place Order’ to complete the payment.
Special Considerations:
- WPJobBoard does not post transactions with $0 to the gateway and as such those transactions are not processed by Click & Pledge. Transactions that are not posted to Click & Pledge will not post to Salesforce.
Note: For other information about WPJobBoard Plugin follow the URL below
 Uploading ....