For CiviCRM4.2.1+ versions:
Configure ‘CiviCRM Extensions Directory’ (Administrator->System Settings->Directories). And configure ‘Extension Resource URL’(Administrator->System Settings->Resource URLs)
Note: Make sure the extensions directory should be system writable.
Unzip it and Upload ‘com.clickandpledge.payment.clickandpledge’ folder manually to your ‘CiviCRM Extensions Directory’.
Eg: if your ‘CiviCRM Extensions Directory’ is <WordPress path>/wp-content/uploads/civicrm/ext/, then upload unzipped ‘com.clickandpledge.payment.clickandpledge’ folder to <WordPress path>/wp-content/uploads/civicrm/ext/ folder.
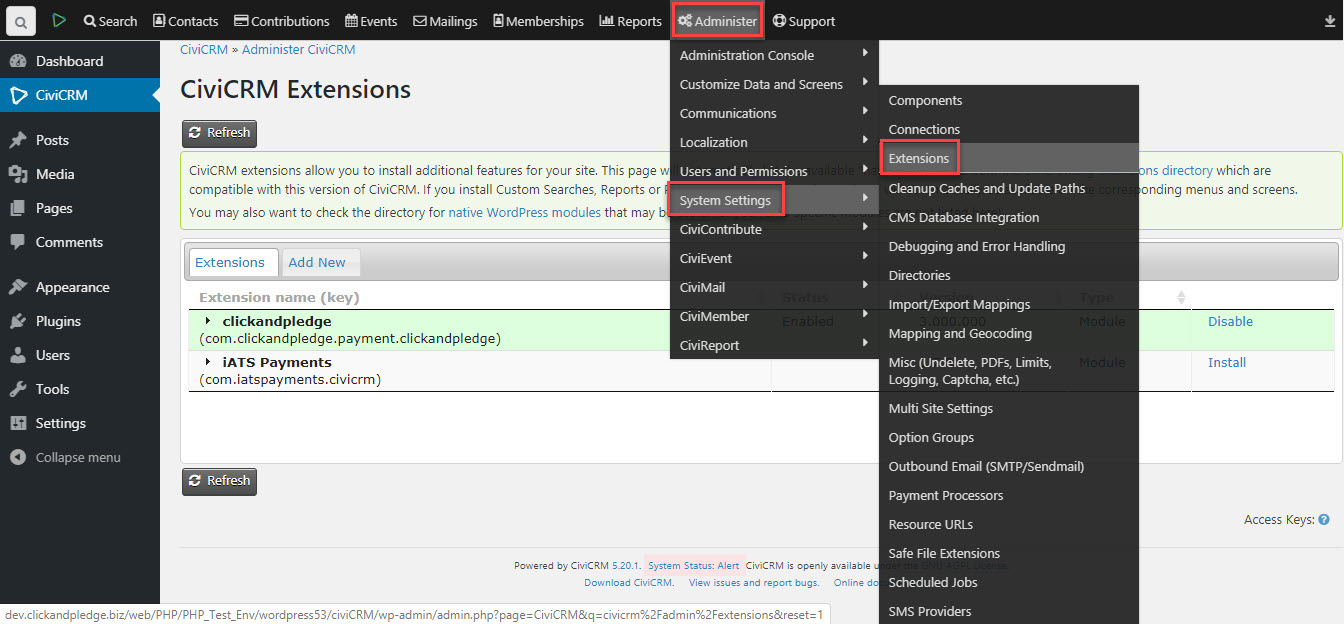
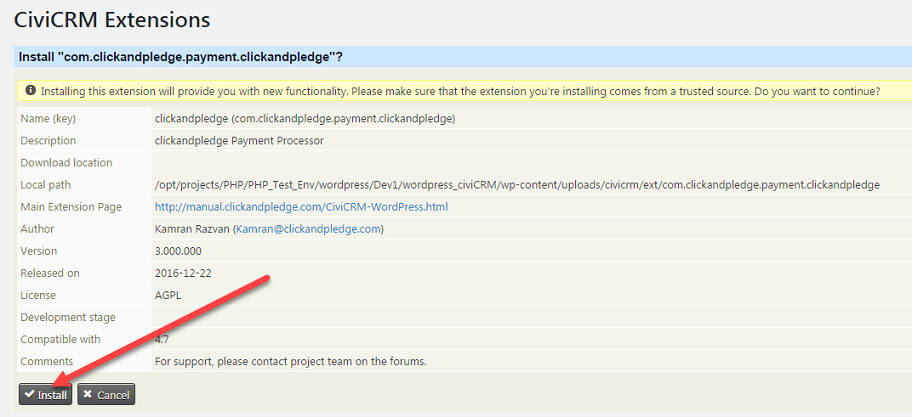
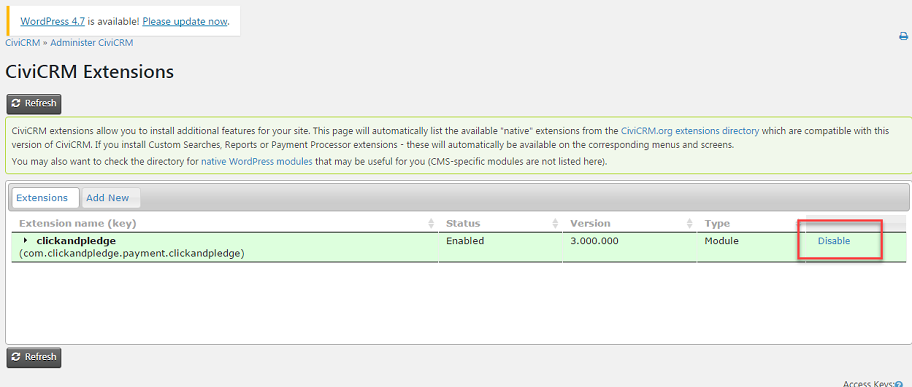
Enable your extension on ‘CiviCRM Extensions’ page:
Admin login
http://<your_wordpress_home>/wp-login.php to login to WordPress admin area
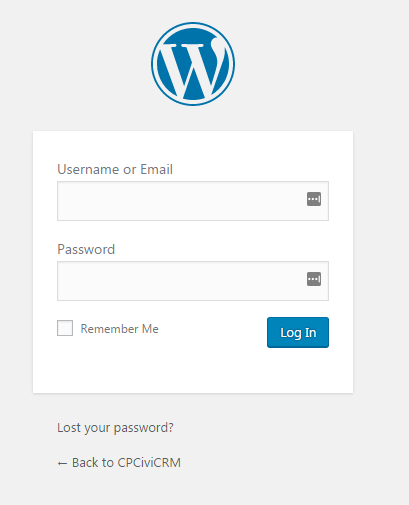
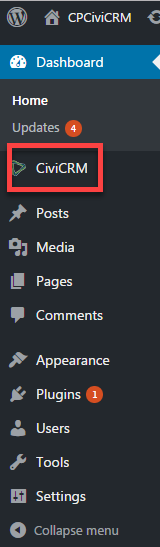
Once logged in, click on CiviCRM on the bottom left side of the screen, or click on http://< your_wordpress_home> /wp-admin/admin.php?page=CiviCRM to launch the CiviCRM
Add Payment Processors
Go to Administrator->System Settings->Payment Processors
Then click on Add Payment Processor
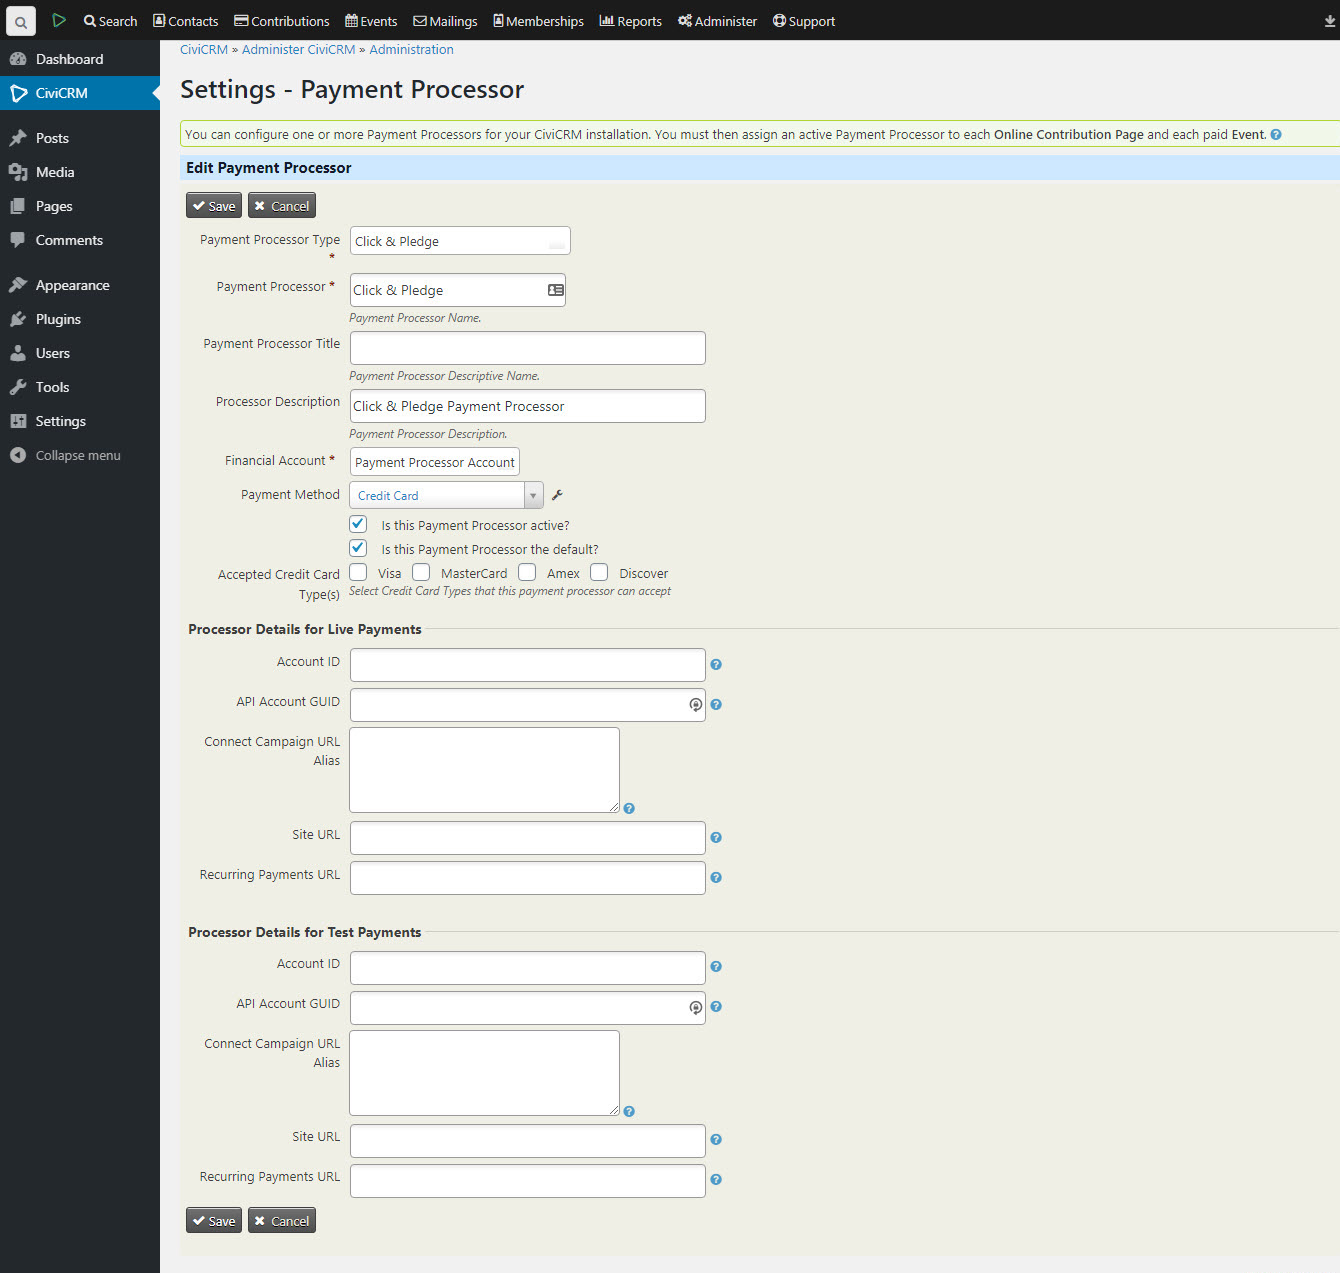
Select 'Click & Pledge' from the menu list for the 'Payment Processor Type' as shown below:
Add your Click & Pledge ‘Account ID’ and ‘API Account GUID’ in the corresponding fields. Please enter the Connect Campaign URL Alias from the respective Connect Campaign, so that the receipt assigned to that campaign will replace the generic receipt. Click 'Save'.
NOTE: To know your Click & Pledge ‘Account ID’ and ‘API Account GUID’, follow this
link.
Events, Contributions & Memberships
Event Setup
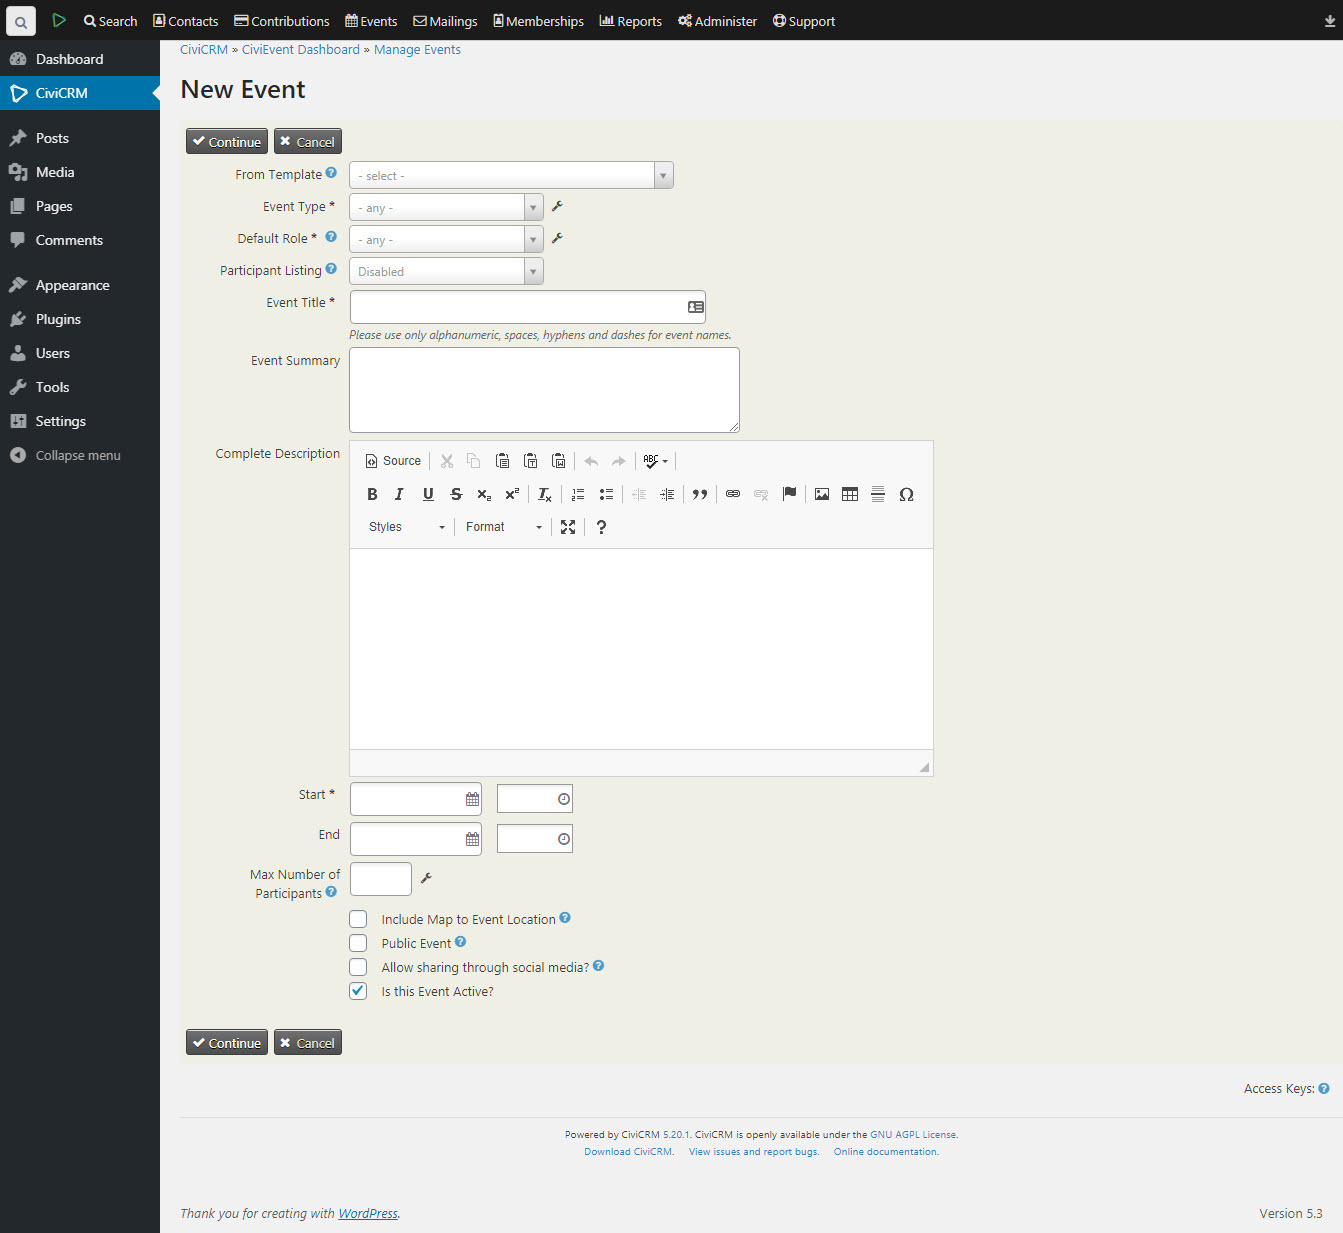
Click on Events->New Event
Follow the steps listed below to setup Click & Pledge as a processor for event registration:
- Complete the above form and click on 'Continue'
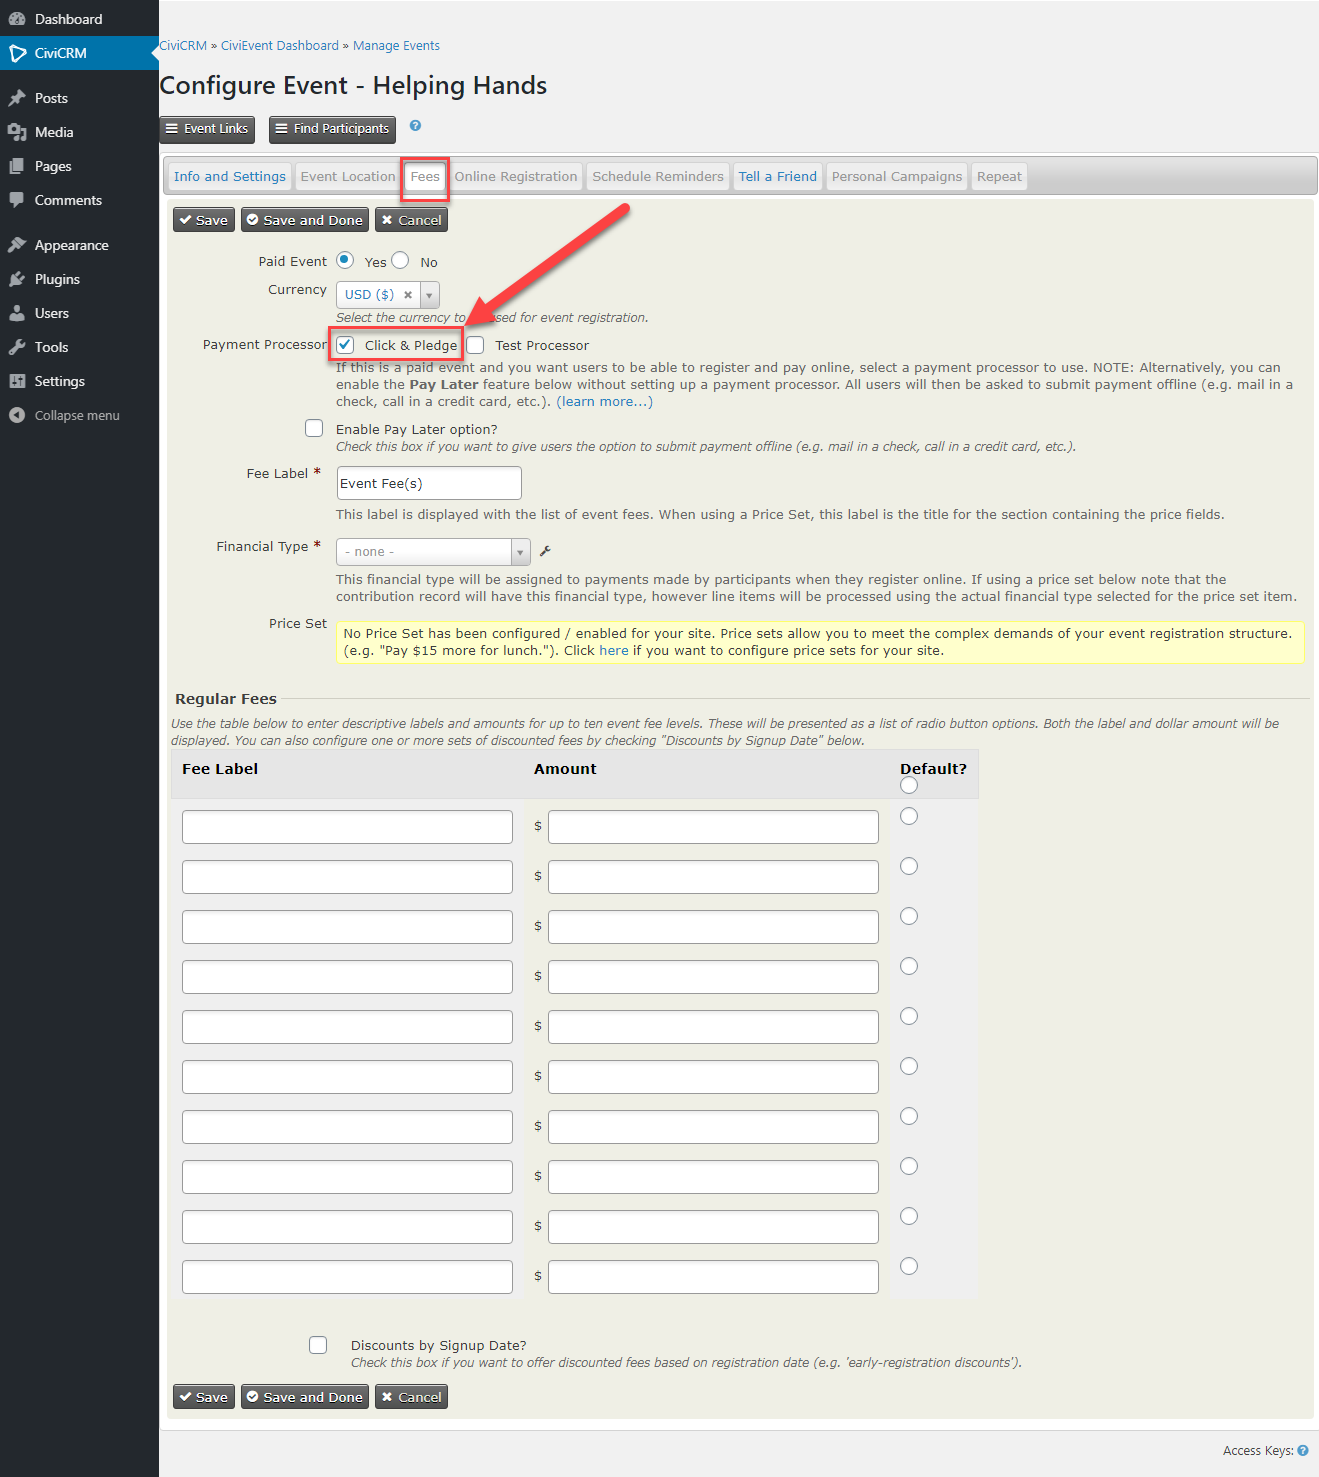
- Click on the 'Fees' tab (as shown below)
- Select 'Yes' for 'Paid Event'
- Select the Currency
- Select "Click & Pledge" for the Payment Processor
- Click 'Save'
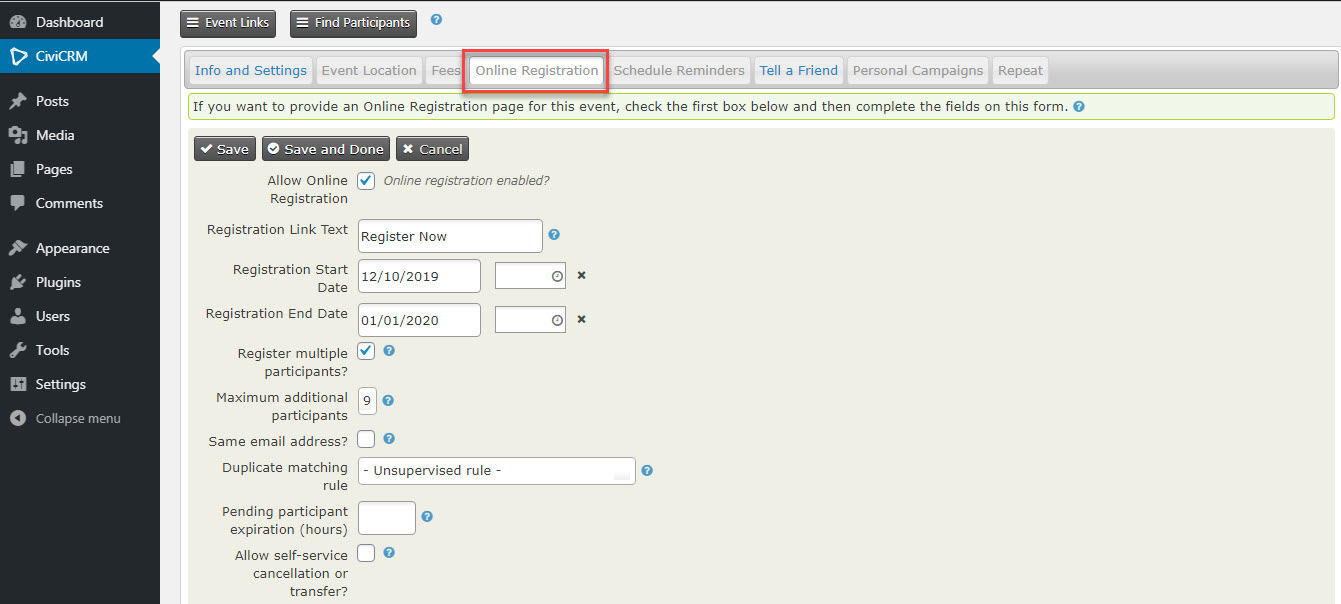
Setup Event Registration
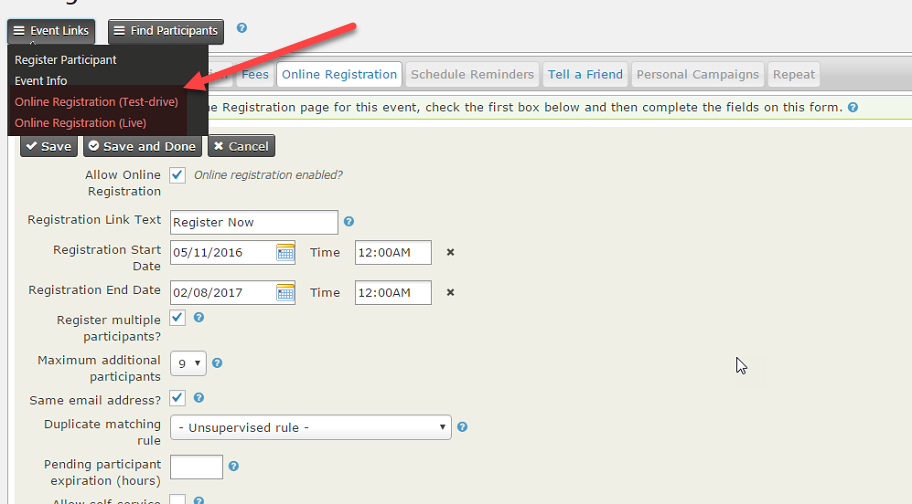
To setup the event click on 'Online Registration' tab, check 'Allow Online Registration' then enter online registration details like start and end dates, etc.
If you select ‘Allow multiple registrations from the same email address?’ then you need to select ‘Profile for Additional Participants’ any profile of type ‘individual’
Test Event Setup
After setting fees and online registration, click on 'Event Links' at top of screen.
From list select ‘Online Registration (Test-drive)’ or ‘Online Registration (Live)’ to test the live or the test version of the event form.
Localize Currencies, Languages, and Locations
Go to Administrator->Localization->Languages, Currencies, Locations
Contributions
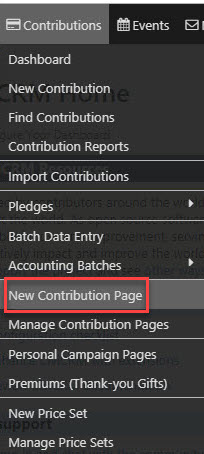
Click on Contributions->New Contribution Page
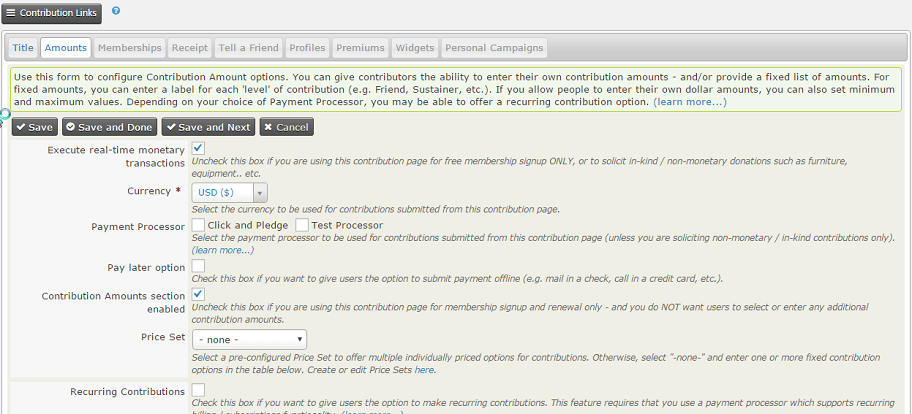
Enter required details then click on ‘Continue>>’ button. It will display the following screen. Here you can select Currency, Payment Processor (see above How to add payment processor?) and select other options like amounts, etc.
If you want, you can set other options like memberships, Receipt, Tell a Friend, etc.
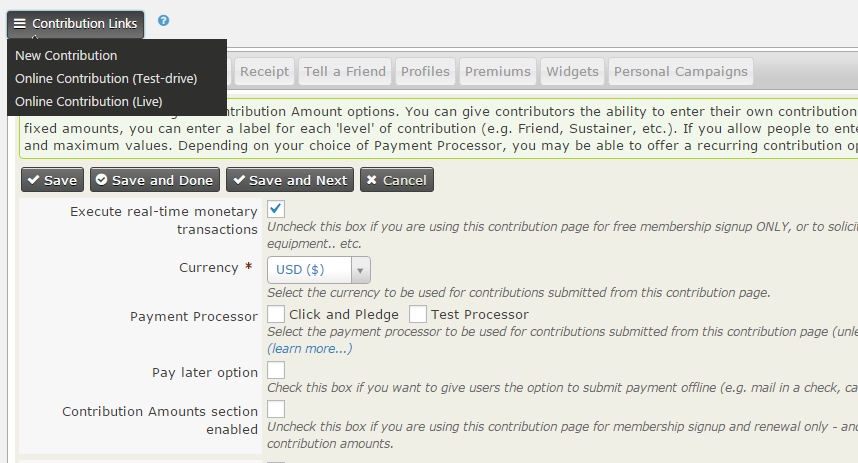
Test Contribution Setup
After setting ‘Amounts’ option, click on ‘Contribution Links.’ It will display links for testing application.
Memberships
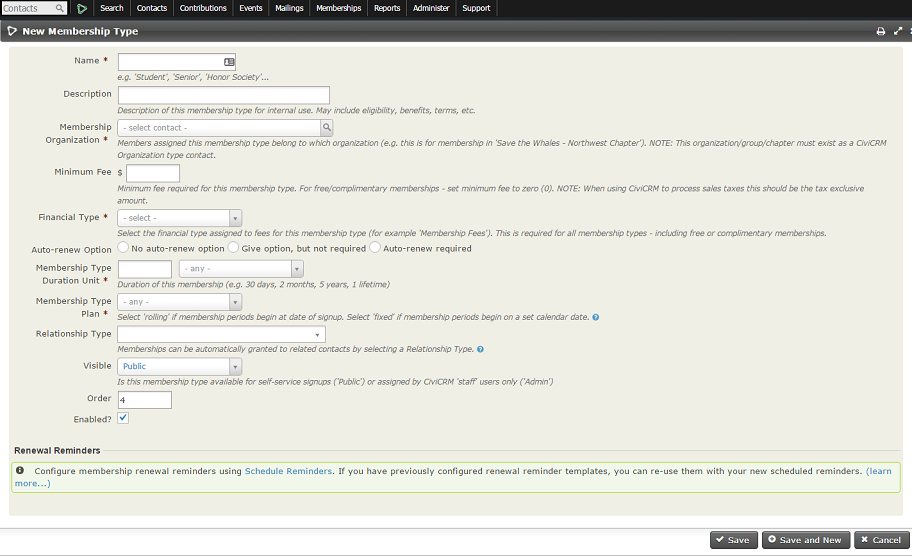
Go to Administrator->CiviMember->Membership Types then click on ‘Add Membership Type’
From the screen you can enter the membership name, membership organization, etc.
NOTE: ‘Membership Organization’ must exist as a CiviCRM Organization type contact.
Configure reCAPTCHA in CiviCRM - (Mandatory)
Log in to your WordPress site and go to the CiviCRM dashboard.
- Navigate to reCAPTCHA Settings:
- In the CiviCRM dashboard, go to Administer → System Settings → CMS Database Integration.
- Enter reCAPTCHA Keys:
- In the reCAPTCHA settings section, enter the Site Key and Secret Key that you obtained from Google.
- Save your settings.
Enable reCAPTCHA for Forms
Enable reCAPTCHA on Contribution Pages:
- Go to Contributions → Manage Contribution Pages.
- Edit the contribution page where you want to enable reCAPTCHA.
- Under the "Include Profiles" section, find the reCAPTCHA option and enable it.
Enable reCAPTCHA on Event Registration Pages:
- Go to Events → Manage Events.
- Edit the event where you want to enable reCAPTCHA.
- Under the "Online Registration" tab, find the reCAPTCHA option and enable it.
Enable reCAPTCHA on Profiles:
- Go to Administer → Customize Data and Screens → Profiles.
- Edit the profile where you want to enable reCAPTCHA.
 Uploading ....