Integration Click & Pledge Payment Gateway
Requirements: Drupal Installed and then install CiviCRM4.2+. Please find more details at http://wiki.civicrm.org/confluence/display/CRMDOC42/Drupal+Installation+Guide+for+CiviCRM+4.2+-+Drupal+7
For CiviCRM4.2.1+ versions:
Configure ‘CiviCRM Extensions Directory’ (Administrator->System Settings->Directories). And configure ‘Extension Resource URL’ (Administrator->System Settings->Resource URLs)
Note: The extensions directory should be system writable.
Download extension (Payment Processor) files from: https://github.com/ClickandPledge/drupal-civicrm
Unzip the downloaded file and Upload it manually to your ‘CiviCRM Extensions Directory’ which is set in (Administrator->System Settings->Directories).
Ex: if your ‘CiviCRM Extensions Directory’ is C:<Drupal path>/sites/default/files/civicrm/extensions, then upload unzipped ‘com.clickandpledge.payment.clickandpledge’ folder to C:< Drupal path >/sites/default/files/civicrm/extensions folder.
Access the CiviCRM:
http://<your_drupal_home> ?q=civicrm/dashboard.
This will launch CiviCRM.
How to add Payment Processor?
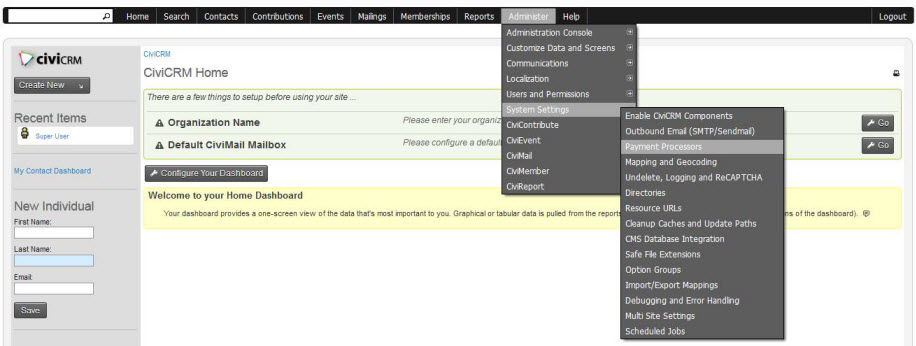
Then go to Administrator->System Settings->Payment Processors
Then click on Add Payment Processor
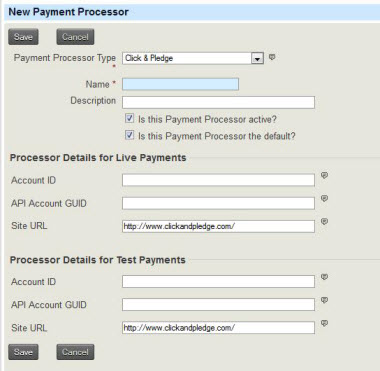
There you will find ‘Click & Pledge’ in ‘Payment Processor Type’ dropdown menu. Select ‘Click & Pledge’. It will display following screen
Enter your Click & Pledge ‘Account ID’ and ‘API Account GUID’ in corresponding fields then click on 'Save.'
Note: Your Click & Pledge ‘Account ID’ and ‘API Account GUID’ is available within the Click & Pledge portal:
- Login to the Click & Pledge administrative portal: https://Portal.ClickandPledge.com
- Click on Account Info
- In Profile tab>API Information copy the information needed for the above screen.
How to use this for your needs?
For Events:
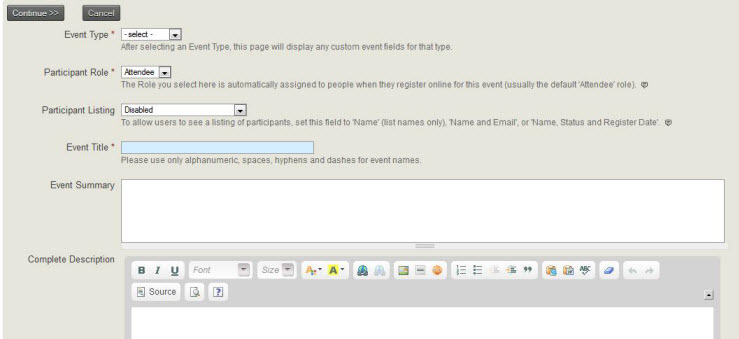
Click on Events->New Event
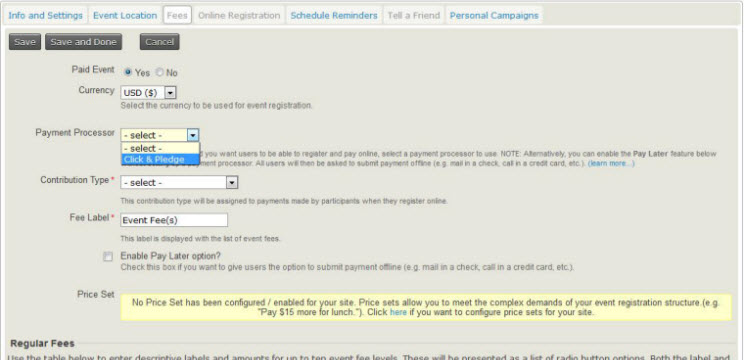
Enter required details then click on ‘continue’ button. Then click on ‘Fees’ tab and it will display following screen. When you click on ‘Yes’ for ‘Paid Event’ option, then you can select currency from ‘Currency’ drop down , ‘Click & Pledge’ from ‘Payment Processor’ drop down and can enter other required information.
How to set up an event for registration?
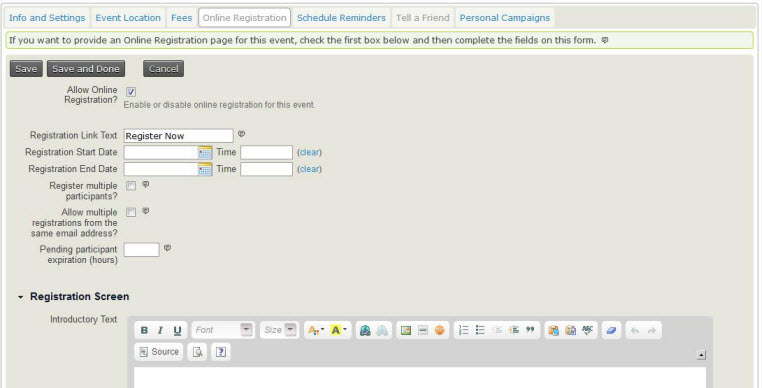
Click on ‘Online Registration’ tab, check ‘Allow Online Registration?’ option, then enter online registration details like registration start and end dates.
If you select ‘Allow multiple registrations from the same email address?’ then you need to select ‘Profile for Additional Participants’ any profile of type ‘individual.’
How to test application?
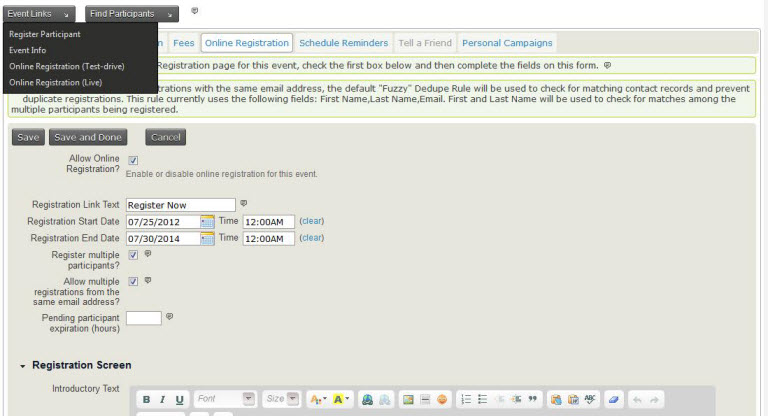
After setting fees and online registration options, look for ‘Event Links’ button above the screen.
From the list you can select ‘Online Registration (Test-drive)’ or ‘Online Registration (Live).’
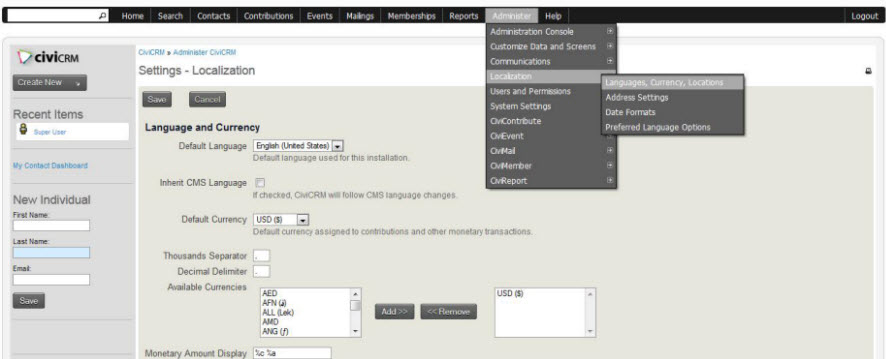
How to add more currencies? (How to add more countries?)
Go to Administrator->Localization->Languages, Currencies, Locations
For Contributions
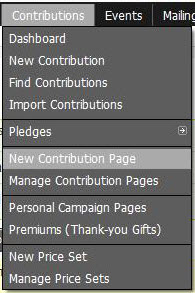
Click on Contributions->New Contribution Page
Enter required details then click on ‘Continue>>’ button. It will display following screen. Here you can select currency, Payment processor (see above How to add payment processor?) and can select other options like amount, etc.
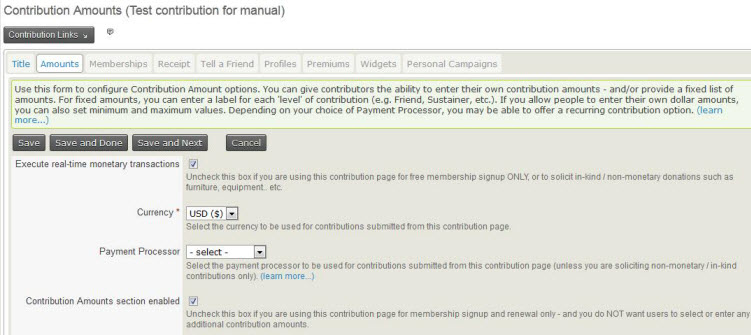
If you want, you can set other options like memberships, Receipt, Tell a Friend, etc.
How to test application?
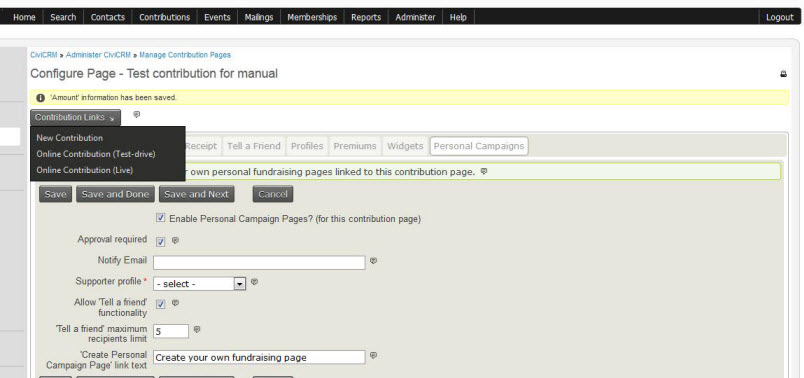
After setting ‘Amounts’ option, click on ‘Contribution Links’ it will display links for testing application.
How to add Memberships?
Go to Administrator->CiviMember->Membership Types then click on ‘Add Membership Type’
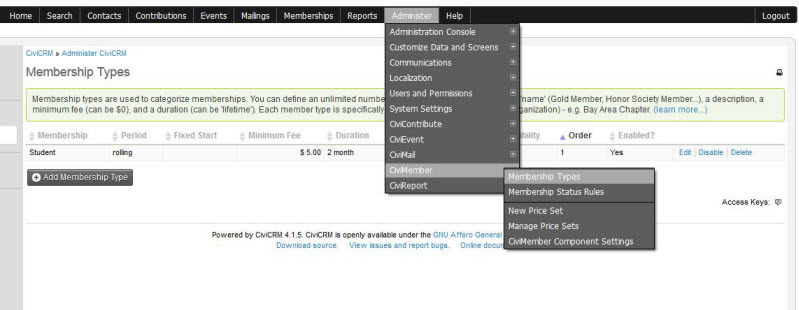
From the screen you can enter name of membership, membership organization, etc.
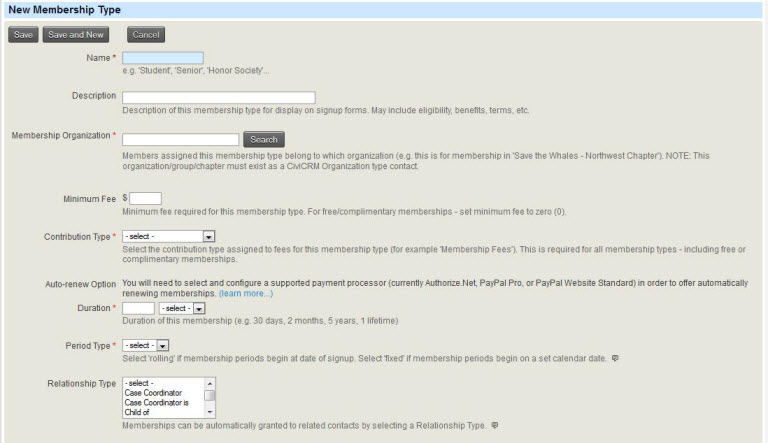
NOTE: ‘Membership
Organization’ must exist as a
CiviCRM Organization type contact.
 Uploading ....